What is Multilingual Output?
Multilingual output is a process in which one target is built for multiple languages. With single language output, one target is generated for each language. In most cases, this means having a separate MadCap Flare project for each language, and the target would generate output for that language. A less common situation is where you have one Flare project and a multilingual author is translating content for each language. A unique target for each language would be created and a separate output would be generated for each language.
The downside to using single language output is that you would typically need to maintain all of the translated topics, as well as translated assets (images, stylesheets, TOCs, etc.) within one Flare project, and create a target for each language. This can quickly become unwieldy with regards to content organization and maintenance of content.
Benefits of a Multilingual Output
With multilingual output, a link is generated between your source Flare project and your translated Flare projects, or Lingo projects. This way when you build your target in the source language, Flare will automatically build the same target in the translated project. This allows you to “merge” the translated outputs into your source target’s output, and allows users to select the language in which they would like to view the output, using a language selector drop-down:
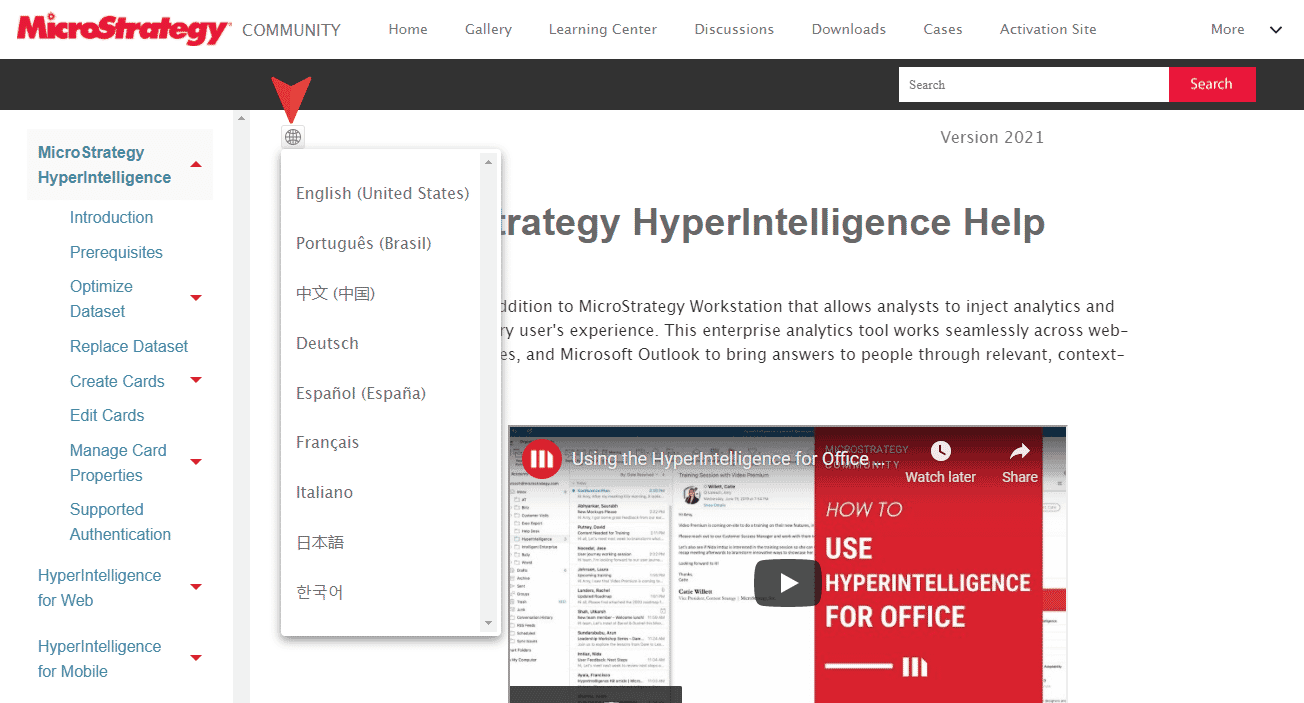
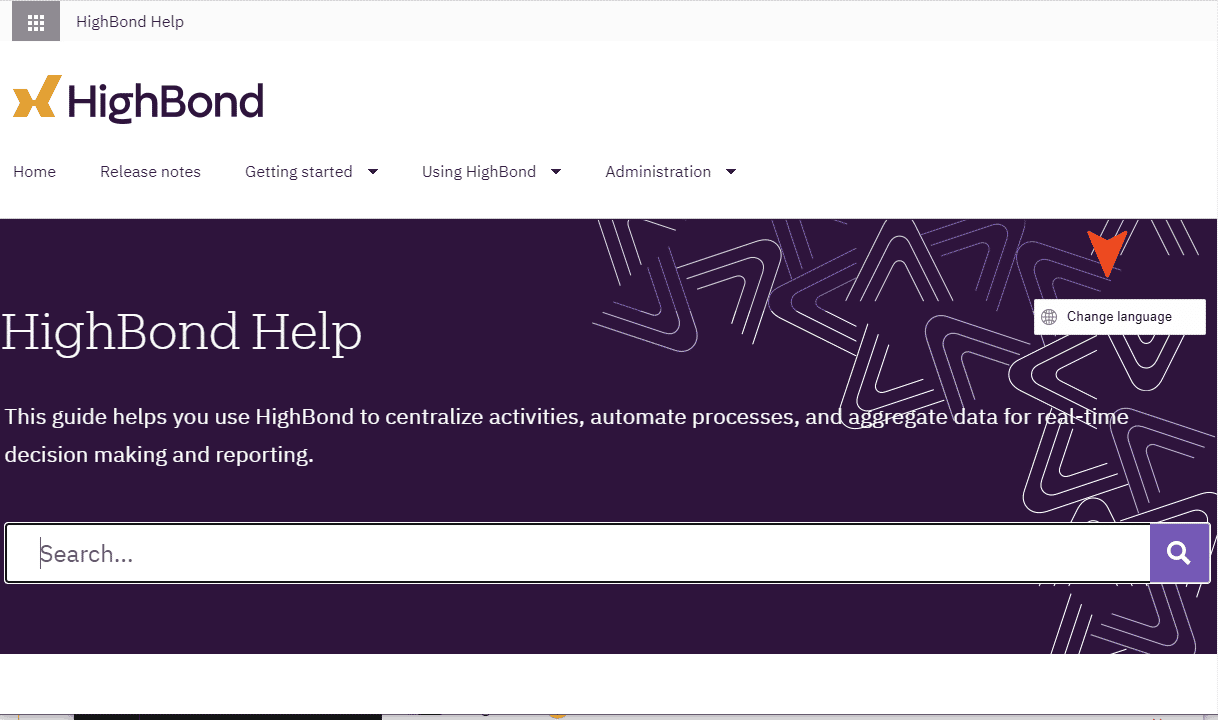
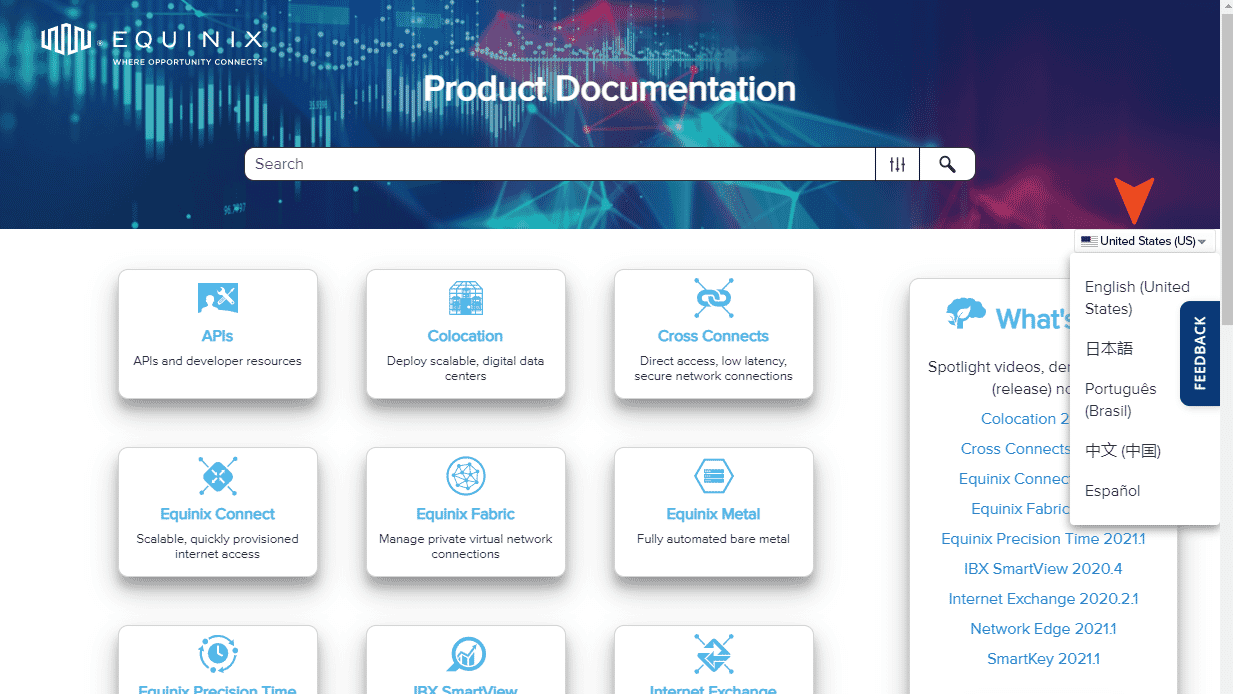
Another benefit of using multilingual output is that when a user opens the HTML5 site, the system detects the user’s default browser language and opens the output in the correct language.
How Do We Set It Up?
Let’s say you’re using MadCap Lingo for translation management, and you‘re sending XLIFF bundles to a translator. When the translator finishes translating the source language files and returns the translated XLIFF bundle, you merge the translated bundle into your Lingo project, and apply the translations to your content. After merging your translations, you would export a translated Flare project from Lingo. This will create an exact copy of your source Flare project, just with translated strings of text.
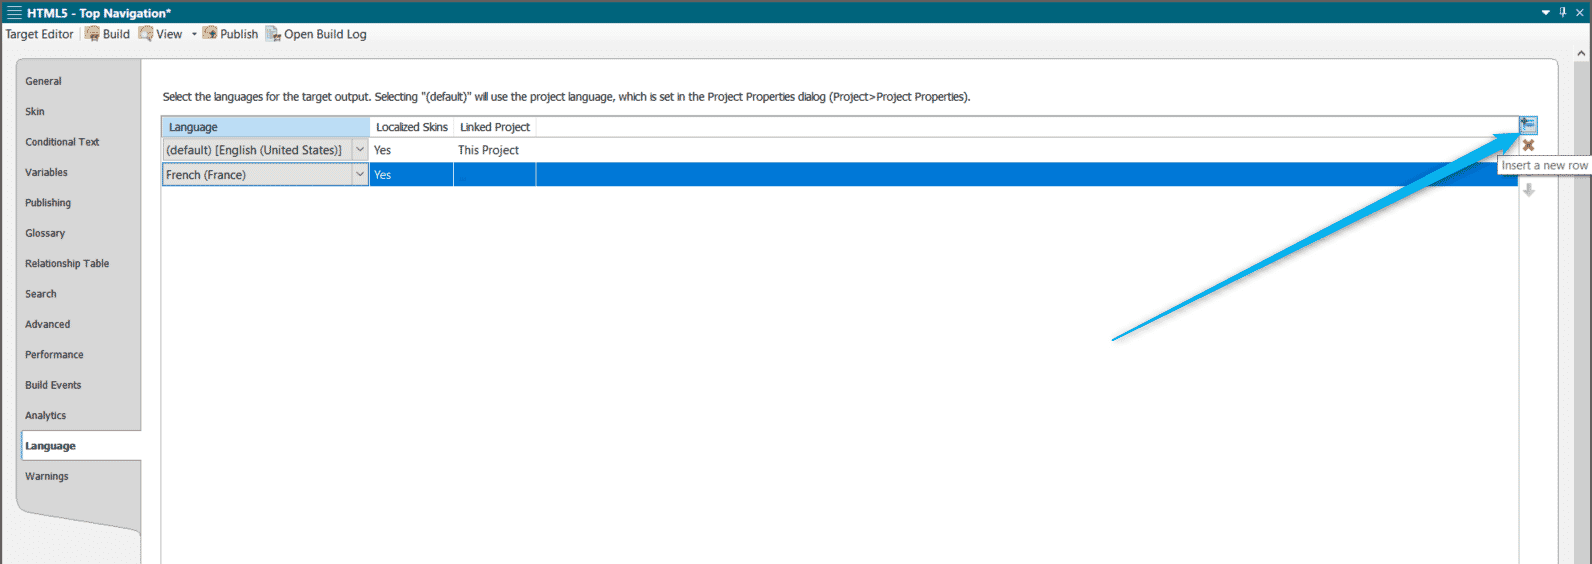
You would then open your source Flare project, and open the target file with which you would like to create a multilingual output. Within the target file, you’ll select the Language tab, and add a new row for each translated Flare project.
You will see an ellipses within each language row which will allow you to locate and link to your translated Flare projects. This way when we build the source target, Flare will automatically build the same target in the translated project.
Note: You can also link directly to a Lingo project. When you link to a Lingo project, building your source target will trigger an automatic export of your translated Flare project(s) from Lingo, and will automatically build the output after export. We will still want to add a row for each language, so that we can specify which languages we want to be included in the output, and we can let Flare do the heavy lifting for us.
With a multilingual target, Flare creates a subfolder in your output folder for each language. When you view the output it is automatically displayed based on your browser's default language. However, when producing HTML5 output, you also have the option of including a language selector in the skin. This lets users quickly switch from one language to another.
Now that we have our projects linked, we’ll add a select language button to our topic toolbar (this is only necessary if you’re building an HTML5 output). To do this, open your master page and right-click the Topic Toolbar Proxy, then select “Edit Topic Toolbar Proxy.” If a topic toolbar proxy is not currently in your master page you can add one by clicking the Insert ribbon > Proxy > Insert Topic Toolbar Proxy. Within the Topic Toolbar Proxy dialog, you can select which buttons you would like to display on your topics. For multilingual output, we’ll add the Select Language button. This will display a language picker on all of the topics that are using this master page.
Note: The master page in Flare is a really powerful feature. For tips on using master pages and their benefits, check out my master page pro tips post here
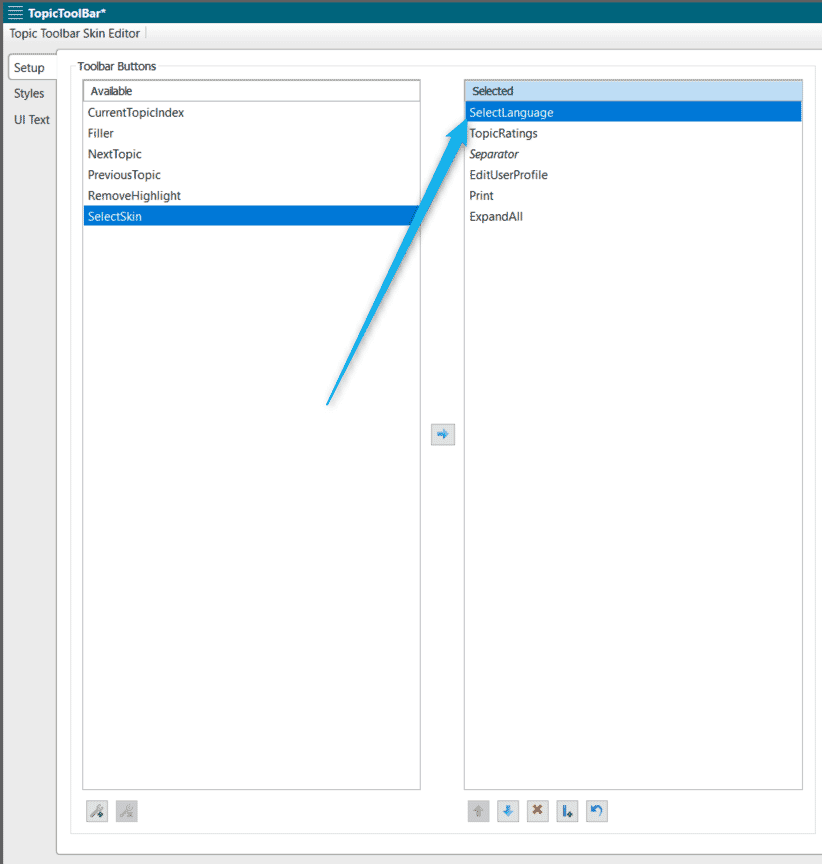
If you have created a topic toolbar skin component, you can open your Skins folder in the Project Organizer, then select your topic toolbar skin component file, and add the button within the Setup tab. Using a topic toolbar skin component offers options to control the look and feel of the toolbar, including the Select Language button.
And you’re done! Now build your output to see your multilingual output!
If you are looking for assistance with translating projects, connect with our MadTranslation team for a free project analysis and quote. MadTranslations is MadCap's ISO certified, full-service translation and localization division and offers complete end-to-end translation and localization services for any language. Learn more here.