


This guest post was written by Laura Charles Johnson, MadCap Flare Advanced Developer and Trainer, and a MadCp Flare user since version 1. Ms. Johnson’s favorite responsibility is to turn new Flare users into power Flare users.
A few weeks ago, I showed you how to create a page layout for a PDF document using multiple decoration frames.
Today, I'm going to show you how to add and create a custom cover page to a new PDF form. There are a few moving parts here:
- Page Layouts
- Topics
- Conditional Tags
- CSS
For the cover page layout, I want to add the following:
- Company Logo
- Title, Release Date, and Version Number of the PDF
- Contact Info
There are a number of places to start when learning how to add a cover page to a PDF form, but for this exercise, I’ll start with creating a new topic. This is necessary because I need a ‘container’ for the content and a placeholder in the TOC.
So, I create a new topic and call it Printed _Title. It’s important to use something like “Print” or “PDF” – something to remind you that this is the title page for a printed document.
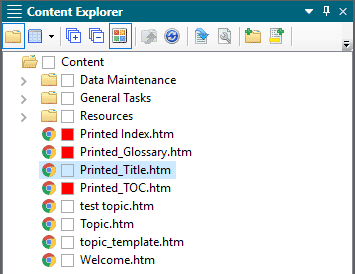
I’ve called mine Printed_Title so it sits next to my printed TOC, Index, and Glossary pages in the Content Explorer.
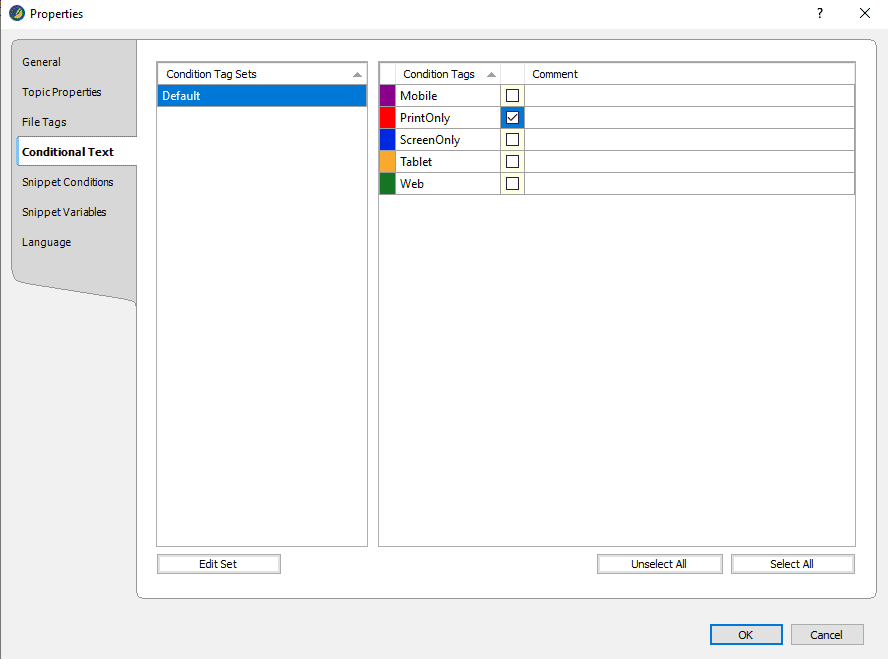
The next thing I do is set this topic to print only by right-clicking on the topic itself and selecting Properties. I select the Conditional Tags tab and check the PrintOnly option.
If you don’t have online output, you can skip this step.
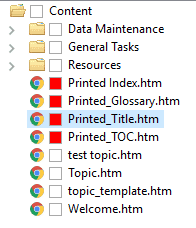
I click OK and when I get back to the Content Explorer, I see that the Printed_Title topic is now red, the color for the print only condition.
Now I need to create a page in a page layout that will hold the topic. This layout will be called Front_Matter and it usually contains the layout for the Table of Contents, any legal content, and the title page.
I will create a page layout called Front_Matter and design it to be the cover page for our PDF.
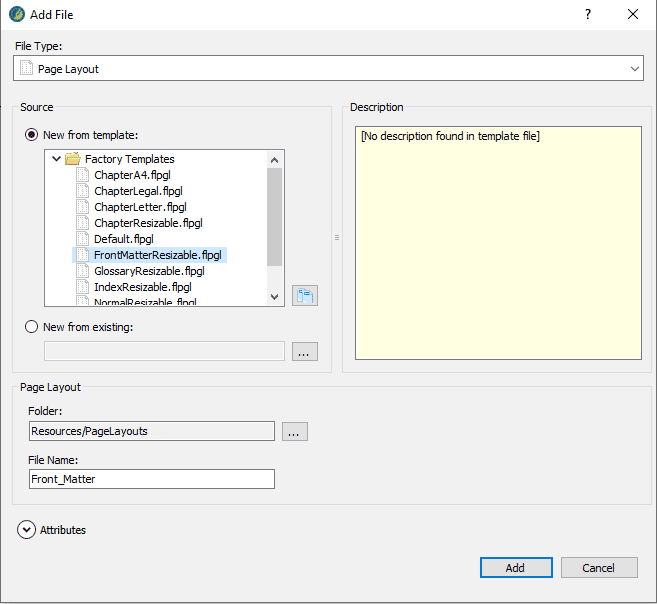
I right-click on the PageLayouts folder under Resources on the Content Explorer tab. From the context menu, I select New->Page Layout. Under Source, I select New from template and then scroll down to and select FrontMatterResizable.flpgl. I leave the folder location as is and name the page layout Front_Matter.
Here's the new page layout.
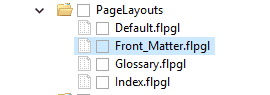
When I open the page layout, I see that there are a number of default pages already added:
- Left
- Right
- First
- Title
- Empty
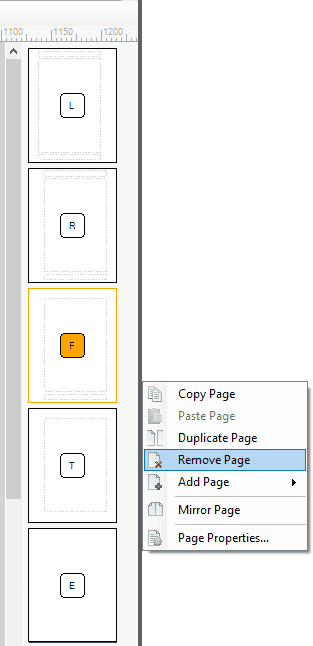
Since I’m focusing on only the title page here, I’m going to remove every page but Title. To do that, I’ll just right-click on each page type and select Remove Page.
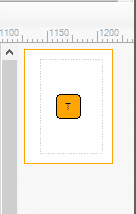
When I'm done, all that’s left is the Title page.
Now to add the logo.
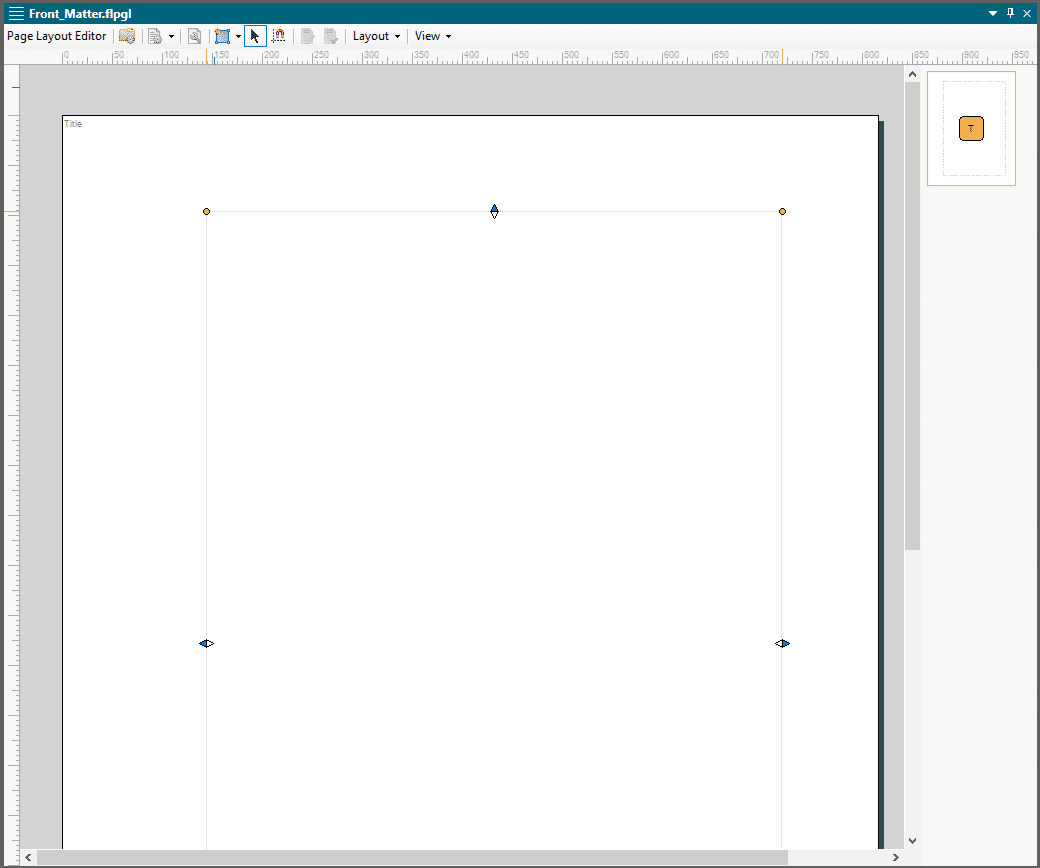
I click on the Title page icon (shown above) and it will open in the Page Layout Editor.
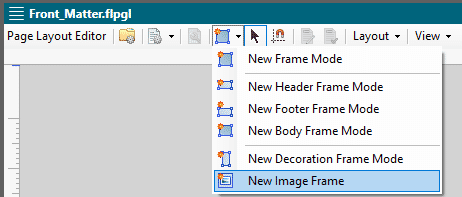
Since the logo is an image file, I’m going to add an Image frame to this layout. I click on New Frame and select New Image Frame.
I then add the logo via the Insert Image window.
The image frame is not in the right place so I just drag it up and to the left. Unfortunately, it’s still overlapping the body frame.
To fix this, I click on the body frame and once the orange dots appear, I simply reduce the size of that frame. But I want the body frame to be a lot smaller so I resize it until it’s shorter and narrower. The only text that I want to show in this frame is the title, version number, and release date. The company info will be in another body frame that I’ll add now.
I add the second body frame the same way I added the image frame and resize it the way I want it.
Here’s what the page layout looks like right now:

You’ll notice that the body frames FLOW from the large one to the smaller one. This is important because I want the contact info to be contained in that smaller frame, not in the larger frame that will contain the doc info. You’ll see what this does in the PDF output shortly.
Now I go back to the Printed Title topic and add the document information AND contact info there.
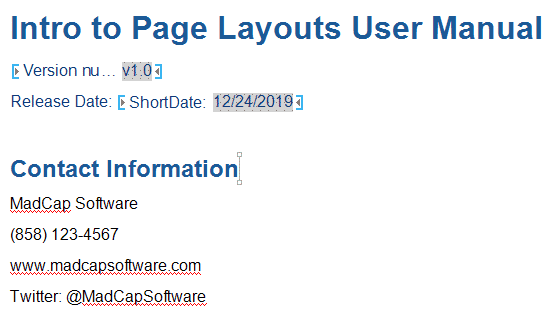
For this page, I created two new print style classes:
- H1.title
- P.title
Within those two print style classes, I added the font sizes, colors, etc. for the content. Then I applied those classes to the <h1> and the <p> tags respectively.
Now I have to make this info show up on the title page – because right now, I have the title page and the content – but no link between the two.
To create that link, I’m going to add the new PDF topic to my print TOC.
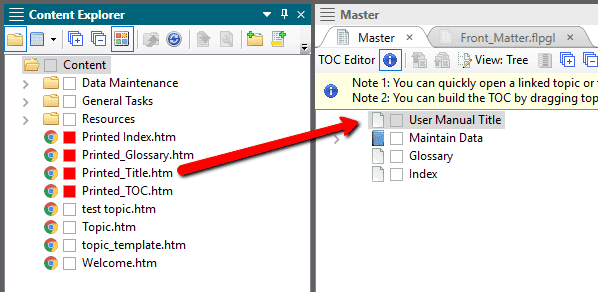
I’m almost done – I just have to do one more critically important thing: I have to assign a page layout to the new topic.
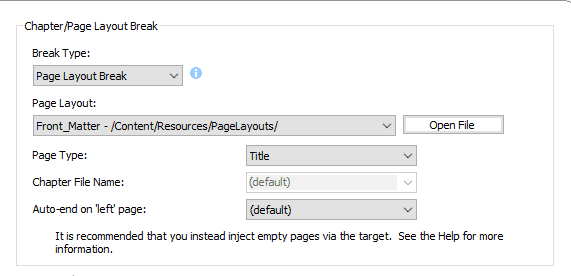
I right-click on the User Manual topic in the TOC and select Properties. I open the Printed Output tab and here’s where I’m going to assign a page layout.
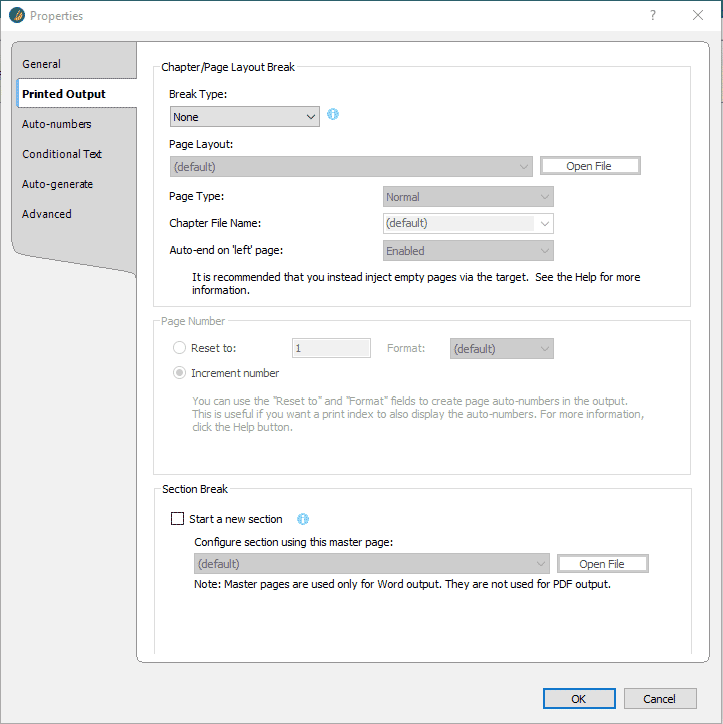
For Break Type, I select Page Layout Break. And for Page Layout, I select Front_Matter (remember, that’s where I created the title page layout).
And then for Page Type, I select Title. My selections look like this:
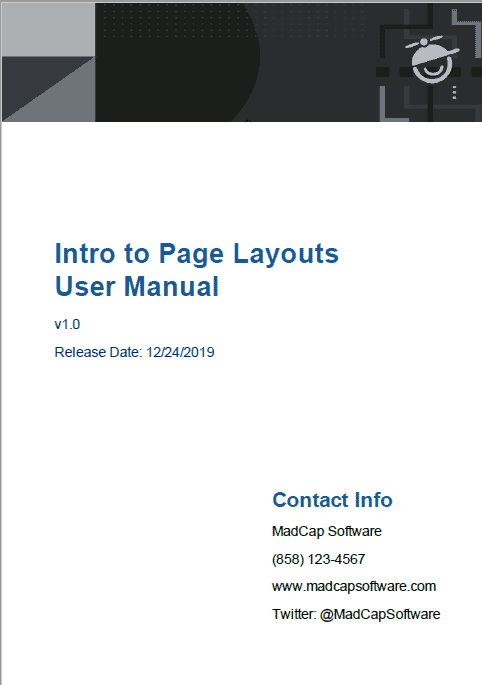
I do a quick build of the PDF output and I get this resulting PDF cover sheet:
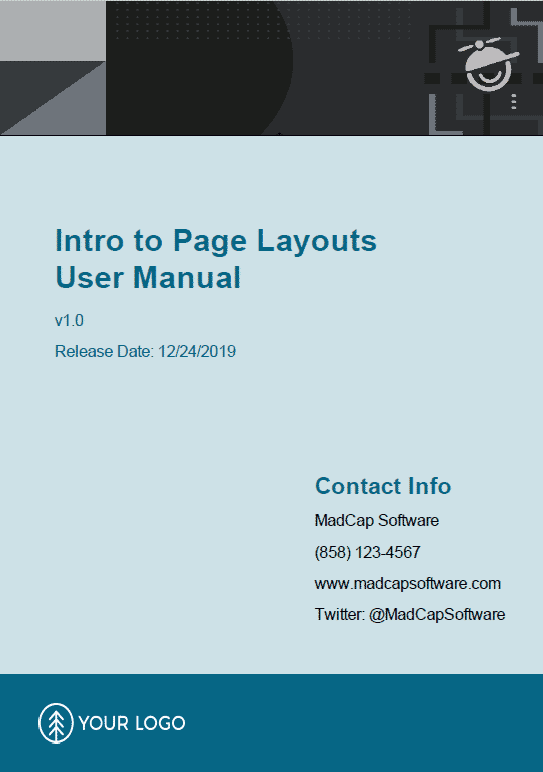
My cover page is done! By editing the page layout more and adding other features such as a background color, a specific font, and a footer frame, I can create a page layout that looks like this:
Try it out and let me know if you have any questions as you create your own custom cover page.
Editor's Note: Originally published on September 12, 2012, refreshed on January 5, 2021, and again on May 2, 2022.


