


Whether in a software application or website, context-sensitive help (CSH) is a great way to quickly present information to users on a specific help topic, relevant to where the user is in the application.
But what if the information that the user needs is a specific chunk of content within a topic, rather than the whole topic? You could create another topic with just that content, but this can be an issue since it adds additional files into your project and can result in duplicate content in multiple files. Reusable content, such as snippets, can be used in this scenario, but let’s simplify this even further.
In this post, I am going to share a tip on optimizing context-sensitive help in your Flare project by using bookmarks.
Why Use Bookmarks?
Linking to bookmarks can be beneficial because it can reduce the number of topics in your project. In the case that the information for context-sensitive help already exists in a topic, linking to a bookmark can avoid the need to create additional topics and files that contain relevant information.
While using context-sensitive help, you can point to information by linking to individual bookmarks inserted in your topics. This way, the user can be directed to the content that they need to read instead of scrolling through the topic searching for the relevant information.
How to Add Bookmarks to Your Flare Project
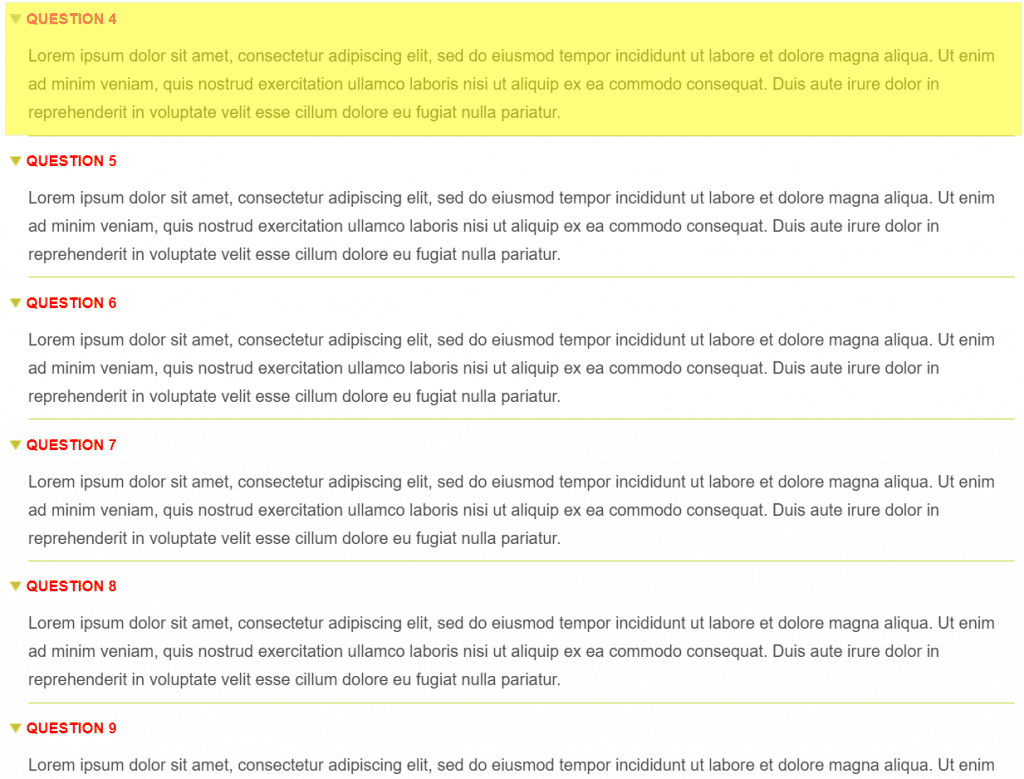
Let’s say in our company’s website, we have a link to open a window that contains information from an online help site created from Flare. However, in our Flare project, this chunk of information already exists within Question 4 in our FAQ topic.
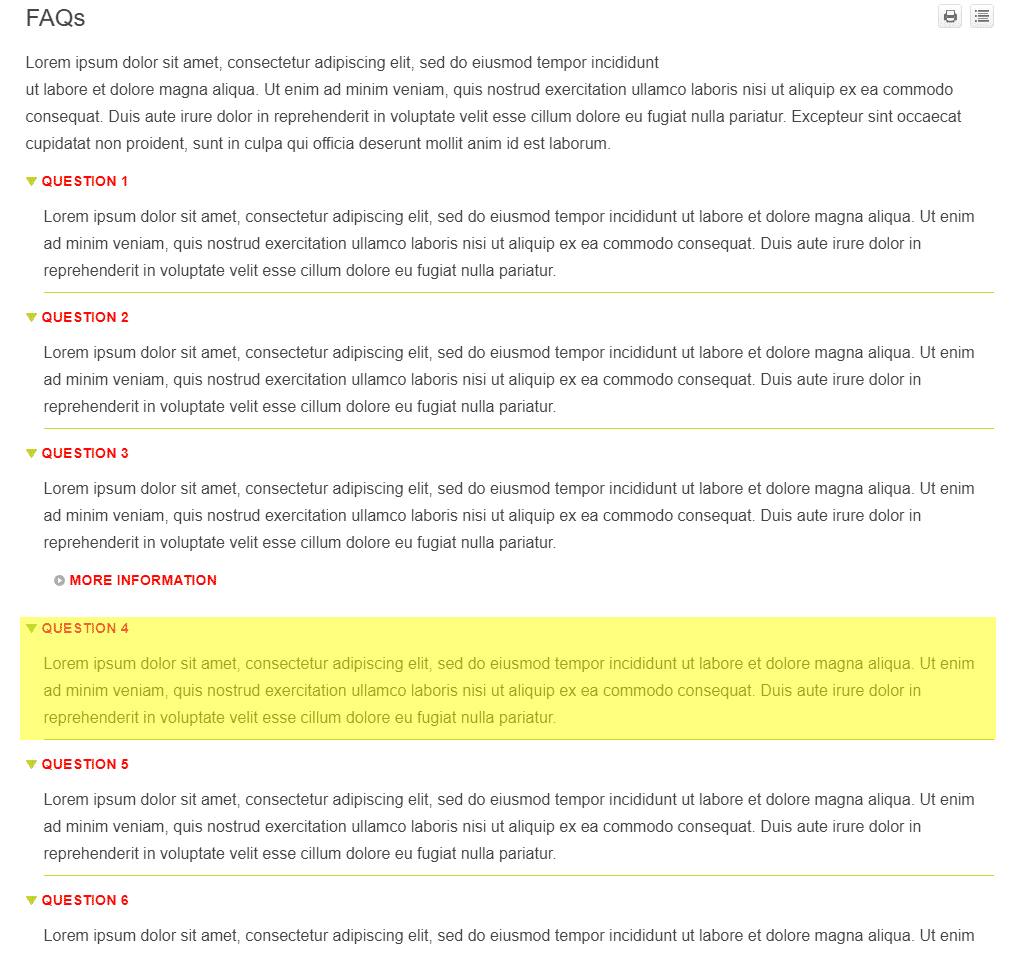
Instead of linking to the whole FAQ page and having the user scroll the page, we can take the user directly to the relevant information.
The first step is to add a bookmark to that section within our topic in Flare.
To insert a bookmark, click in the topic where you want to insert a bookmark (e.g., in front of a subheading or a specific paragraph), select the Insert Ribbon, then select Bookmark to bring up the Manage Bookmarks dialog.
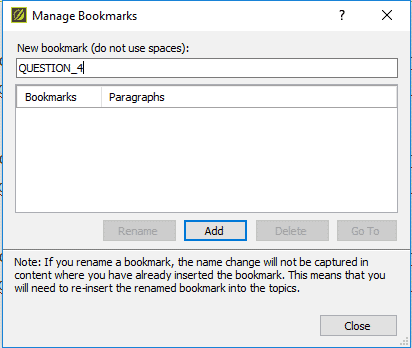
Click Add. The bookmark will then be added into your topic.

In the Alias file we can add the bookmark to our identifier by first creating an identifier and then selecting our FAQ topic. The alias file is located in the advanced folder of the Project Organizer.
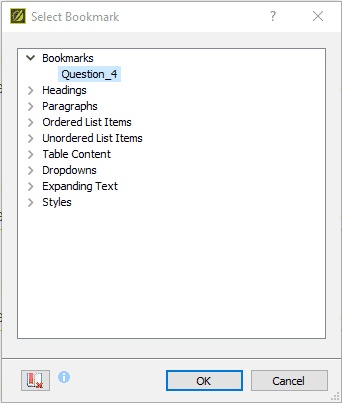
After you’ve selected the topic, click the bookmark icon, and select the specific bookmark within our topic.

This will add the bookmark to the topic section of the identifier, as seen above. For more information on header files, view the MadCap Online Help topic on “About Header Files”.
The values from the header file are then used to “hook” to the appropriate windows or dialogues in the website. When clicking the link on our site, the bookmarked information from the FAQ topic will be displayed at the top of the page of the help window.
Bookmarks can be used in a variety of ways to enhance how users interact with your content. It is a marker, or flag, that lets you create hyperlinks to specific locations within topics. In addition to using them for CSH, consider using bookmarks if you are linking your reader to other topics from within your online help, and you want to direct them to a specific location within a topic.
Got any questions on what was covered in this blog post? Do you have any tips when using context-sensitive help? Leave a comment below!