


Today, I’m going to share with you my top tip when it comes to Print TOCs in MadCap Flare:
Headings in Topics will determine the TOC structure in print based outputs.
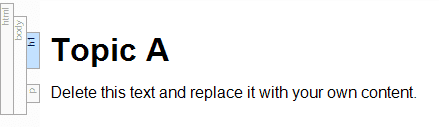
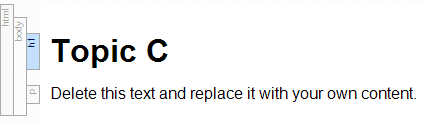
What do I mean by that? Let’s take a look at an example of a vanilla Flare project with a PDF output. In this project I have five topics. All topics start with a h1 with a bit of text, seen below:

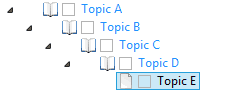
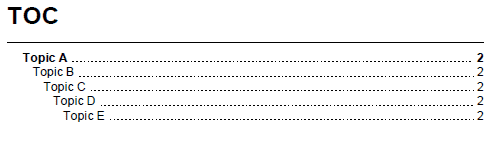
Now in my TOC, I’ve placed these topics enclosed in one another to create a 5 level hierarchy.
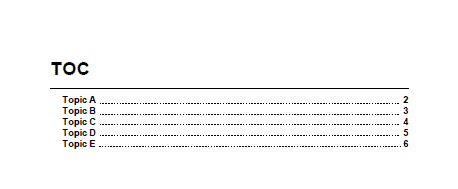
However, once I build my PDF output we will see that the Print TOC has all of these topics at the same level and does not have the structure we have within the TOC.
Why does it behave this way? Because Headings in Topics will determine the TOC structure in print based outputs!
So how do we get that structure that we want? Answer: Change the topic’s headings to match the levels in the TOC.
One option is to go into “Topic B” and make the heading a h2, go into “Topic C” and make that an h3, and so on. However, this option can take a lot of time. Also, I may want these topics to be at different levels within another TOC. (For example, Topic B will be at the first level in another target.)
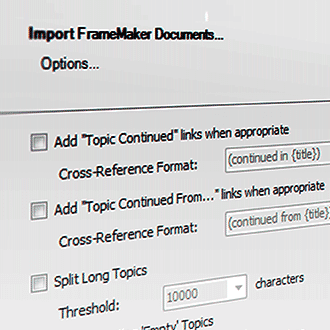
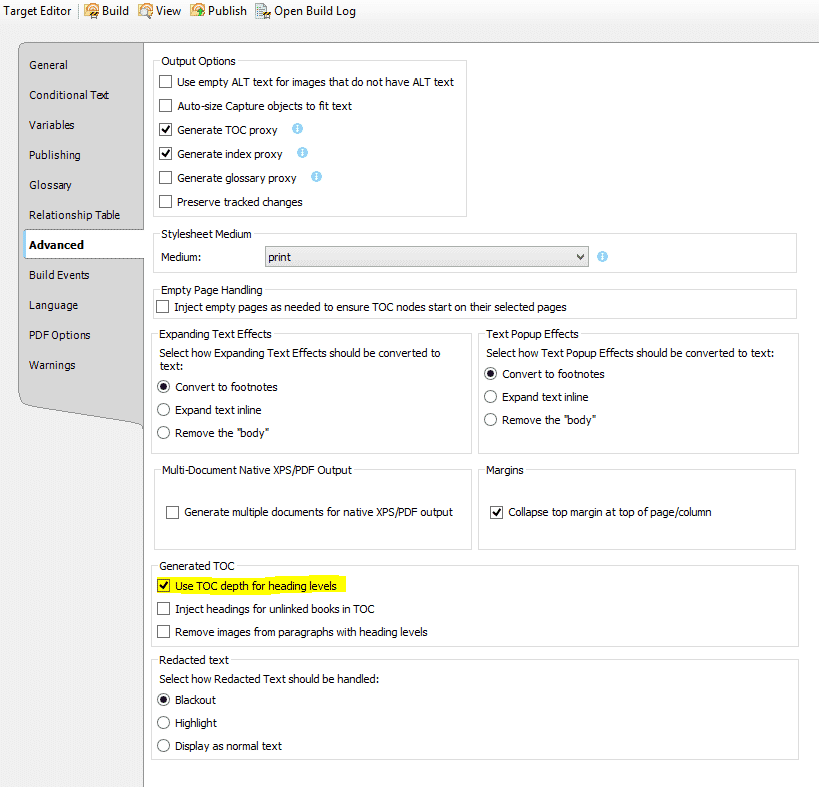
The solution? There is a setting in the PDF Target that will automatically adjust these heading levels based on where they are placed within the TOC.
The setting is called “Use TOC Depth for Heading Levels”, which can be found when you click Print Target > Advanced Tab > “Generated TOC” section > Use TOC Depth for Heading Levels”.
Now, when I enable this option and rebuild the output, the headings will adjust and maintain the structure I’ve configured within the TOC.
However, there is one important consideration when using “Use TOC Depth for Heading Levels”. The heading levels will adjust in the printed output, which also means they will inherit the styles.
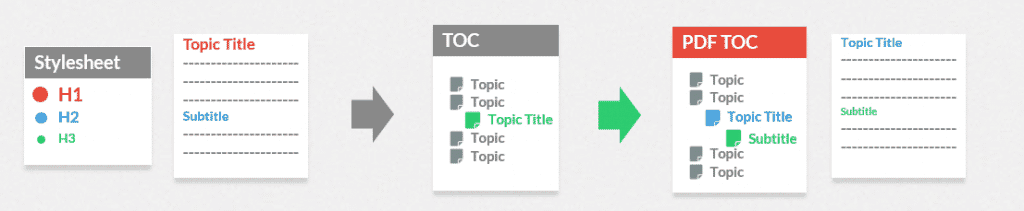
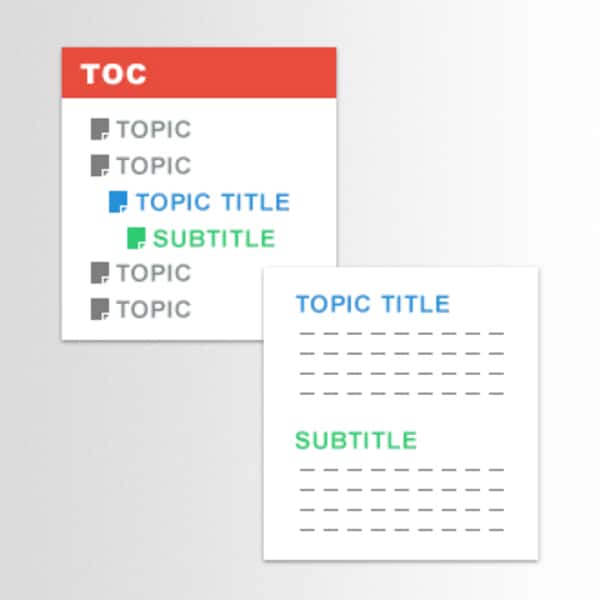
Here’s a graphic to explain:
Here we have a topic where “Topic Title” is a h1 and “Subtitle” is a h2. Then the topic is placed on the second level of the TOC within Flare.
In the published output we will notice that “Topic Title” is now a h2 and “Subtitle” is a h3. In turn, this has also changed the style of those topics to match what is set in the stylesheet.
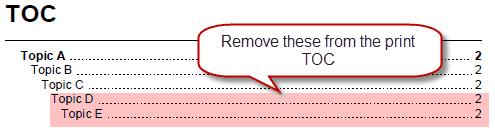
Now looking back at the Flare example we have:

What if I only wanted to see up to the 3rd level of topics in my TOC?
Don’t forget, Headings in Topics will determine the TOC structure in print based output.
In order to do this, the style property mc-heading-level must be adjusted. The style property “mc-heading-level” is the style property that Flare looks at to determine the heading level of an element.
By default, h1’s are set to mc-heading-level: “1”, h2’s are set to mc-heading-level: “2”, and so on.
So in order to make Flare determine that an element is no longer a “heading”, mc-heading-level must be set to “0”. This still retains the look and feel of the heading but Flare will not consider it a heading when it comes to creating the Print TOC.
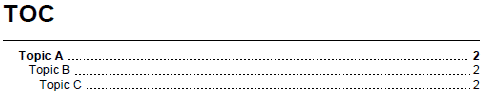
To make it so that I only see the first three levels of the TOC display, I would set H4 and H5 with mc-heading-level: 0.

The output result:
To summarize:
- Headings in Topics will determine the TOC structure in print based outputs.
- If you would like Flare to adjust your topics so that the heading levels will adjust based on where they are placed within the TOC, enable the setting “Use TOC Depth for Heading Levels” within the Target. (Target Editor > Advanced Tab > “Generated TOC” Section > Use TOC Depth for Heading Levels)
- Mc-heading-level is the style property that Flare looks at to determine the heading level of an element when compiling the Printed TOC.
Any questions? Feel free to reach out to me!