


Hi! It's Kelly again, with another edition of Flare 101.
Chances are good that there will be some information in your Flare project that you want to use over and over again. If it’s just a little bit of information (like a phone number), you’d use a variable instead of entering the information every single time you want it to appear in your work. If there’s a lot of information you’d like to use over and over again (text, tables, pictures, and whatever else can be included in a normal topic) you can use a snippet.
When you master the art of using snippets and variables, your life will become much easier. This post will show you the simplest, most straightforward ways to get started.
Variables
When you want to add a variable, you first need to have a variable set. What’s a variable set? Well, it’s a set of variables. Pretty self-explanatory, huh? Here’s how to create variables:
- In the Project Organizer, double-click the Variables folder.
- Flare will usually give you a variable set, so double-click it. If you don’t have any variable sets in the folder, you can add one by clicking Project, New, and choosing Variable Set. Click add and OK, and the Variable Set Editor will open up. Flare provides you with a couple of variables (CompanyName and PhoneNumber) but you can delete or modify them if you want.
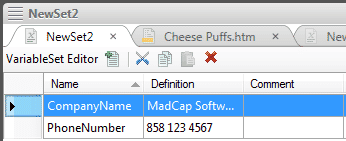
- If you want to add a variable, click in the local toolbar.
- Double-click in a field and type the name, then do the same for the definition, and comment.
- Save it!
Now you’ll want to insert your variables into your topics. Here’s how to do it:
- Open your topic and place your cursor where you want to add a variable.
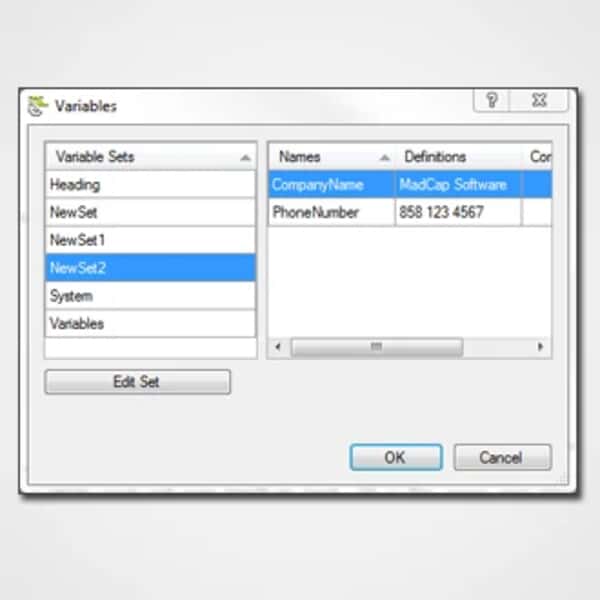
- From the local toolbar, click the Variables button. The Variables dialog will open, with your variable sets on the left and the variables in those sets on the right.
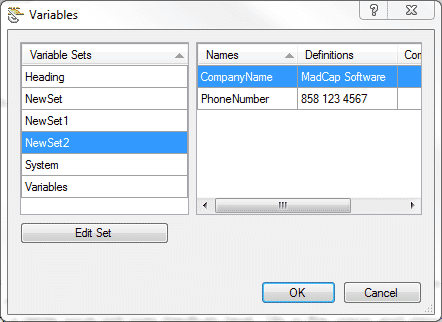
- On the left, select the variable set you want to use.
- On the right, select the variable from that set that you want to insert and click OK.
- Save it!
Snippets
There are two ways to make snippets: out of existing content, and from scratch. If you already have some content in your topic that you want to turn into a snippet, here’s how to do it:
- Open the topic and highlight the content (this can be text, tables, pictures, whatever you want) that you want to turn into a snippet.
- In the Home ribbon, go to the Snippet section and select Create Snippet.
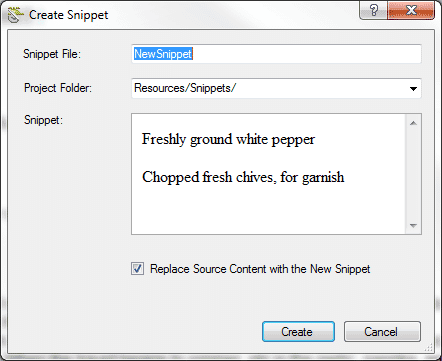
- Choose a name for your snippet and type it in the Snippet File field. If you leave the project folder selection as "Resources/Snippets" that’s where you’ll be able to find your snippets in the Content Explorer (and that’s a great place for them to live).
- Click Create and save it!
Here’s how to make a snippet from scratch:
- Do one of the following, depending on the part of the user interface you are using. In the Content section of the Project ribbon, select New>Snippet and the Add File dialog will open.
- In the Source area, select New from template (because we’re doing this the quick and easy way) and choose one of Flare’s Factory Templates.
- In the File Name field, type a new name for the snippet and click Add.
- When the Copy to Project dialog opens, click OK. The snippet is added to the Content Explorer and opens in its own page in the XML Editor.
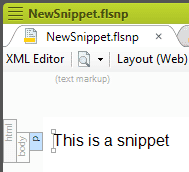
- Click inside the snippet page in the XML Editor and add whatever content you want to include in your snippet. When you’re done, save it!
Now you’ll want to insert your snippets into your topics. Here’s how to do it:
- Open your topic and place your cursor where you want to add a variable.
- From the local toolbar, click the Insert Snippet button.
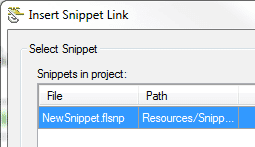
- In the Insert Snippet Link dialog that pops up, select a snippet file to insert. Click OK and save it!
Now go write!
Hey, Kelly! I want to know more!
- Here’s a link to the About Snippets section of Flare’s online help.
- And here’s a link to the About Variables section.
I have questions!
- Visit the MadCap forums or the Users of MadCap Flare LinkedIn group and you will find lots of smart people who are happy to help.