
Table styles are a great way to take the pain out of managing the look of your tables. With table styles, not only can you control the look and feel of your tables, you can turn a bland, boring table into one that’s visually appealing and easy to read. In MadCap Flare, these are managed through a separate stylesheet from your Master Stylesheet.
Here’s a few tips that can help you get more out of tables in your documentation:
1. Apply Styles to Multiple Topics at Once
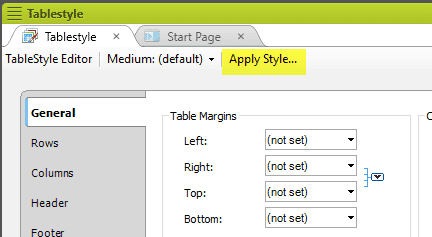
Once you’ve created a Table Style in Flare, you need to apply the Table Style to your tables within your topics. However, instead of manually applying Table Styles to all your individual tables, you can apply the style to multiple topics at once by using the Apply Style button in your TableStyle editor.
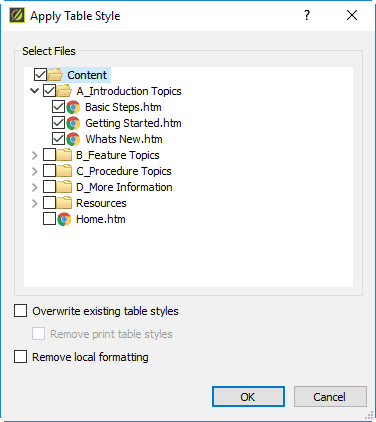
After pressing the Apply Style button, you will be able to select which folders and topics should have the styles applied.
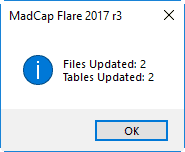
Once you press OK, Flare will let you know how many files and tables have been updated.
Note: This can be especially useful if you’re importing content from other formats. For example, if you’ve imported content from Microsoft Word, this gives you a quick and easy way to apply your branding to all your tables.
2. Create a “Custom” Type for Rows and Columns
If you’ve played around with Table Styles, you may be familiar with setting up a pattern within your table rows. However, a Custom row will allow you to overwrite the pattern that is set in the table. This is useful if you need to highlight a specific row of data.
Notice in the screenshot below three Row Styles are defined:
- Light (Pattern)
- Dark (Pattern)
- Highlight (Custom)
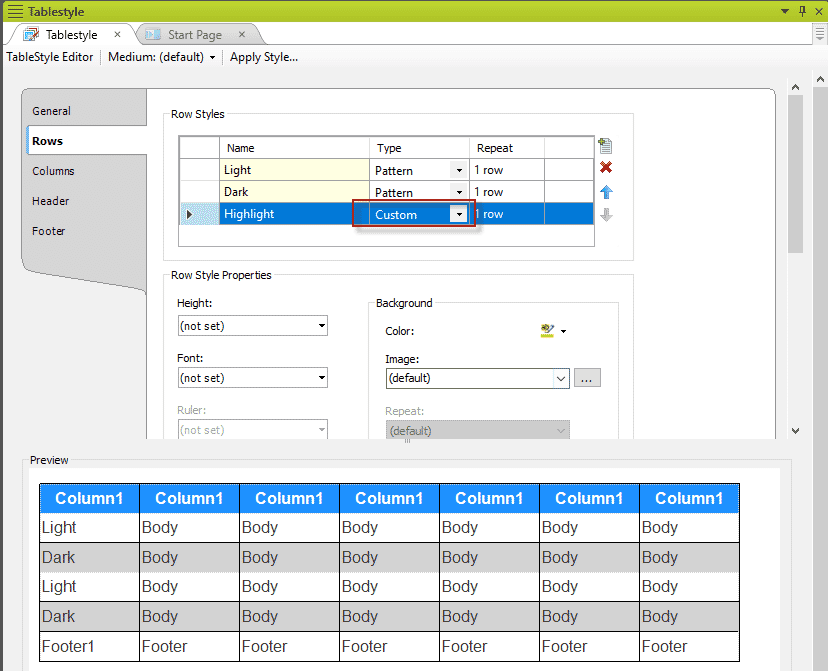
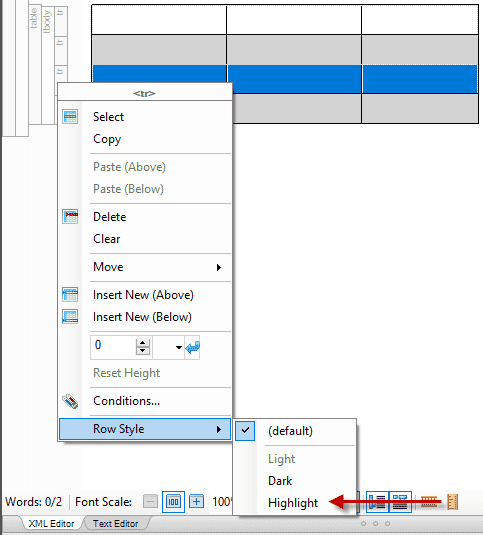
You’ll also notice in the Preview that the table displays the Pattern rows but does not show the Custom row. This is because you have to set Custom rows within your tables. To do this, select the row, right-click and select Row Style, then select your custom row.
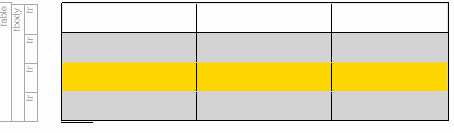
Now, your pattern will be overwritten with the custom row styles.
Note: To create Custom Columns, simply follow the same steps above, and select columns instead of rows.
3. Include Header Rows in Tables
If you’ve created a table style in Flare and notice that the styling from your header row is not applied, then chances are that your tables are missing header rows.
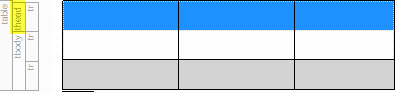
The surefire way to know if your tables have header rows is that the structure bars will include the thead tag.
If your tables do not have thead tag, then you will want to add the header row to your tables. You can do this by right-clicking the table and going Table Properties.
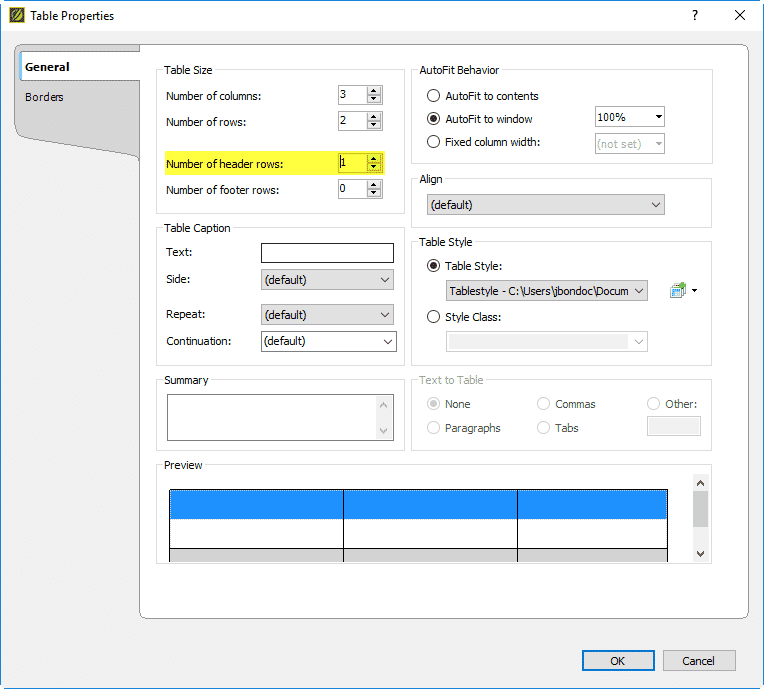
Under the General tab you will be able to define the number of header rows in the table.
Note: If you’re importing Microsoft® Word documents, tables do not import with header rows by default. However, if you want header rows defined in your tables, there is an option that will apply this to all tables during the import.
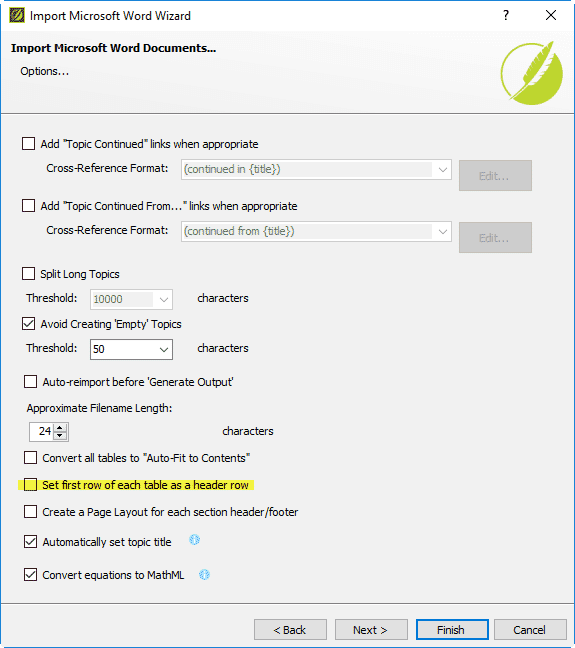
Table styles are a great way to customize the look and feel of your documentation, giving you extra control over the branding of your tables. Are there any other tips that you’ve discovered with Table styles in Flare? Let us know in the comments below.