Do you find yourself in the situation where you keep re-adding chunks of text, tables, images, and videos in your projects? Tired of writing the same steps over and over again?
Snippets in MadCap Flare are a great way to reuse content throughout your documentation. Instead of typing the same information where you want to use it, you simply need to create content once and insert them in the relevant topic. But once you’ve mastered the basics of how to use snippets, what’s the next step?
In this post, I’ll cover advanced tips and techniques when using snippets in your projects, designed to help you get the most out of MadCap Flare:
1. Auto Suggestion for Snippets
Flare includes a feature that can suggest inserting an already existing snippet as you’re typing. This is especially useful for new members of your authoring team that aren’t aware of single-sourcing best practices.
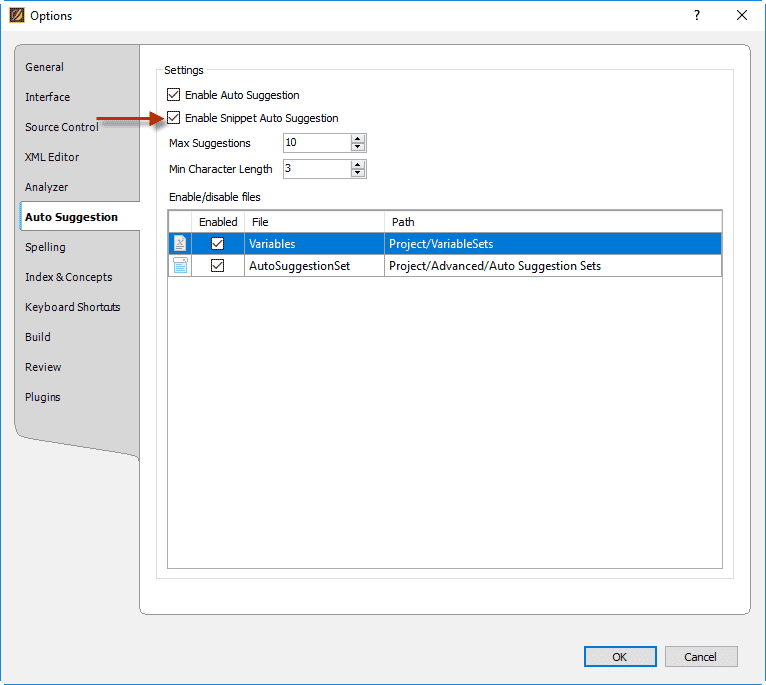
To enable Auto Suggestion, you will first need to enable the option, as it is not enabled by default. This can be done by following File > Options > Auto Suggestion Tab > Enable Snippet Auto Suggestion.
Now that Auto Suggestion is enabled, Flare will automatically popup with a suggestion when you begin to type out the beginning of a snippet.
Example:
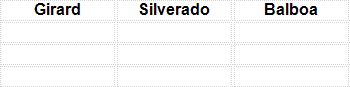
First I created my snippet for a simple list, seen below:

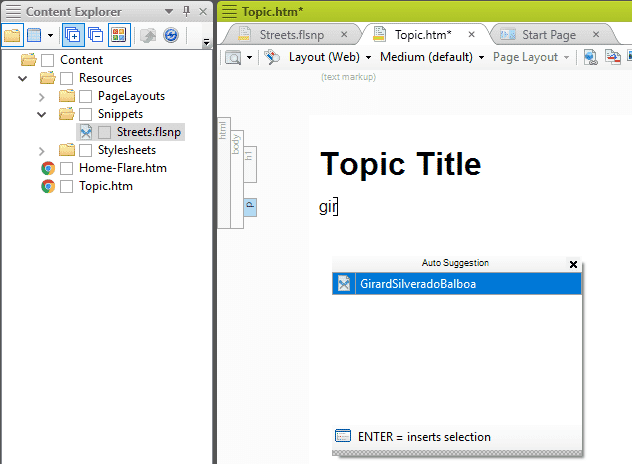
Now in the Flare topic, once I start to type “gir”, Flare pops up with the suggestion to insert my existing snippet:
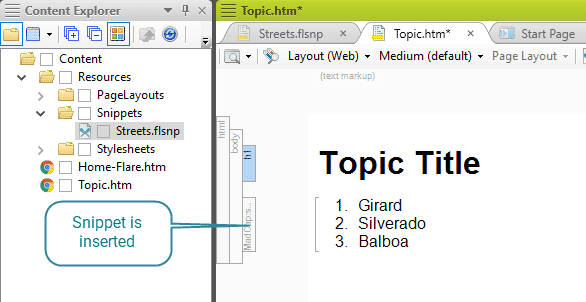
Pressing Enter quickly inserts the snippet into the topic.
2. Inline Snippets for Formatted Text
Inline snippets can be used similar to how Variables are used. However, variables do not allow formatting within the variable itself. So if you need to single-source small bits of text inside the variable you need formatted, use a snippet instead.
Example:
When writing about a UI button, you may want to include an image of the button inline. In this case, I want to write about the “Show Tags” button, but I want the name of the button to be bolded and to include an image at the end like so:
To do this, you will need to create the snippet first.

When you’re in the paragraph, select and insert the snippet.
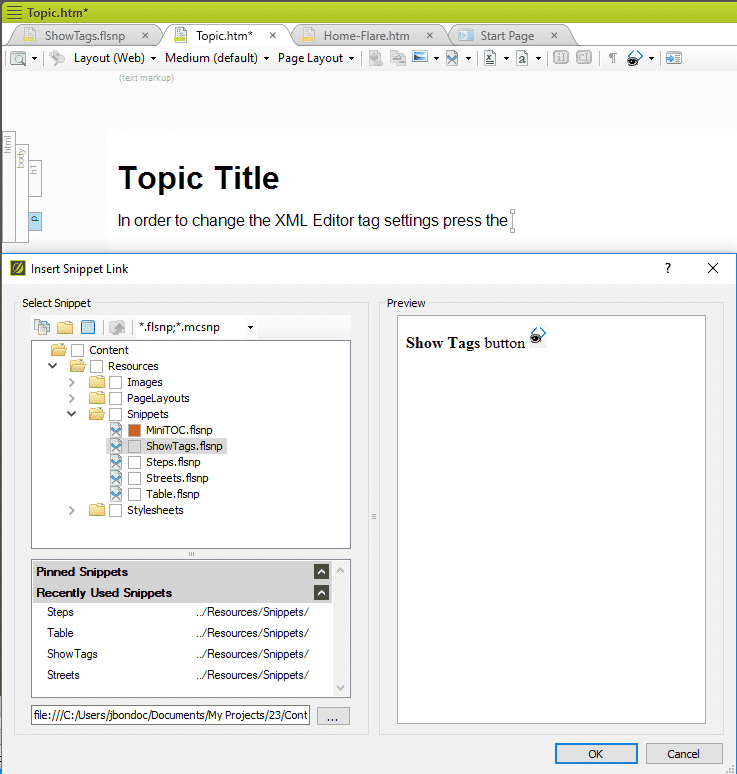
Then your snippet will appear inline with formatting included.

Now if I need to change the “Show Tags button” text or if my image were to change, I can pop into my snippet file and easily make my edits there.
3. Converting Snippets to Text
This technique allows you consistently paste a template of content that you can convert to text and edit immediately after inserting them. This is also often referred to as “Seed Text”.
Example:
I have a comparison table that I need to reuse so we will add the base layer of content within a snippet.
Once the snippet is created, I can insert it into a topic, right-click the snippet, and select Convert to Text.
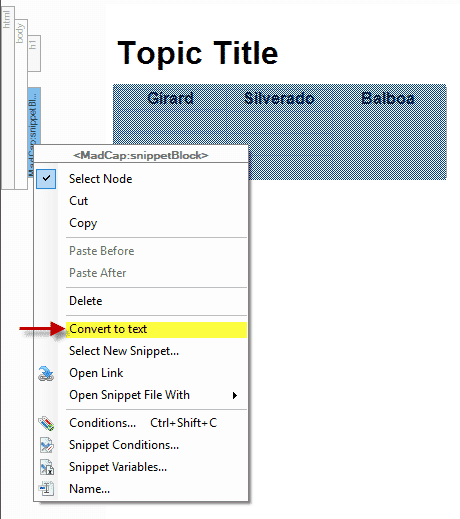
Pressing Convert to Text will break the link to the snippet and make the snippet plain text for editing.
4. Sharing Snippets Across Projects
Snippets (along with other Flare project files) can be shared across projects by setting up Global Project Linking. The idea with Global Project Linking is that you can import project files from one project into another and create a link. If project files were changed in the original Flare project, those changes would reflect in all the projects that have imported those files once you do a reimport. So if you’ve created a library of snippets that you would like to use in a new Flare project, you can import resources from one Flare project to another.
To do this, go to the Project Ribbon and select Import > Flare Project. In the Import Flare Project Wizard, select the Flare project you want to import resources from. By selecting “Auto-reimport before ‘Generate Output’”, when you build in the project, it will trigger a reimport of the original project. In other words, if you build in the project, snippets will synchronize before Flare starts to build the output.
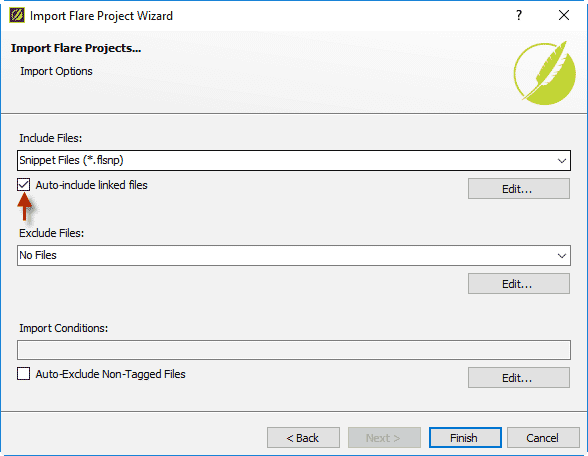
Once you select your Flare project you can select the types of files you would like to include in the import. There’s also an important option to enable Auto-include linked files. By enabling this option, any linked files to the snippet (images, variables, conditions, etc.) will be included during the import as well. Once you’ve selected your files hit Finish.
In the next screen you will be able to select which individual snippets that you want to accept during the import. Check off the snippets you want to bring in.
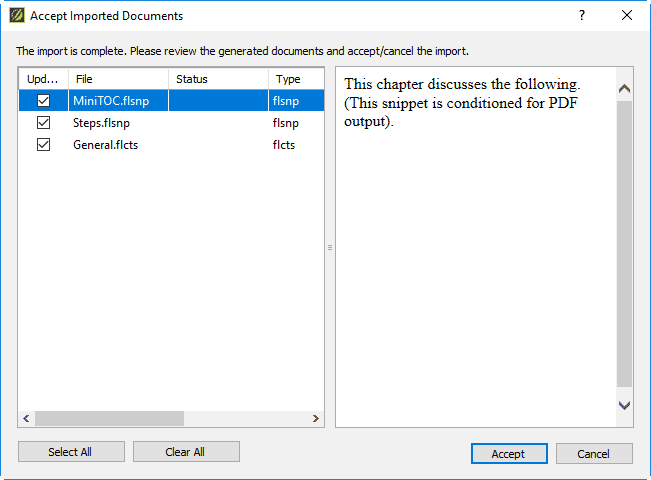
Once you’ve selected the snippets you want to import, press Accept. The snippets should now be included in the new Flare project.
Got any questions on how to use the techniques above? Do you have any advanced snippet tips that you’d like to share? Leave a comment below!