


Welcome to the MadBlog
News, tips and insights from the leader in technical communication and content development.


Transforming Flare TOCs into Stylish HTML Cards: A Modern Approach
Posted by Jim Gilliam
February 7, 2024
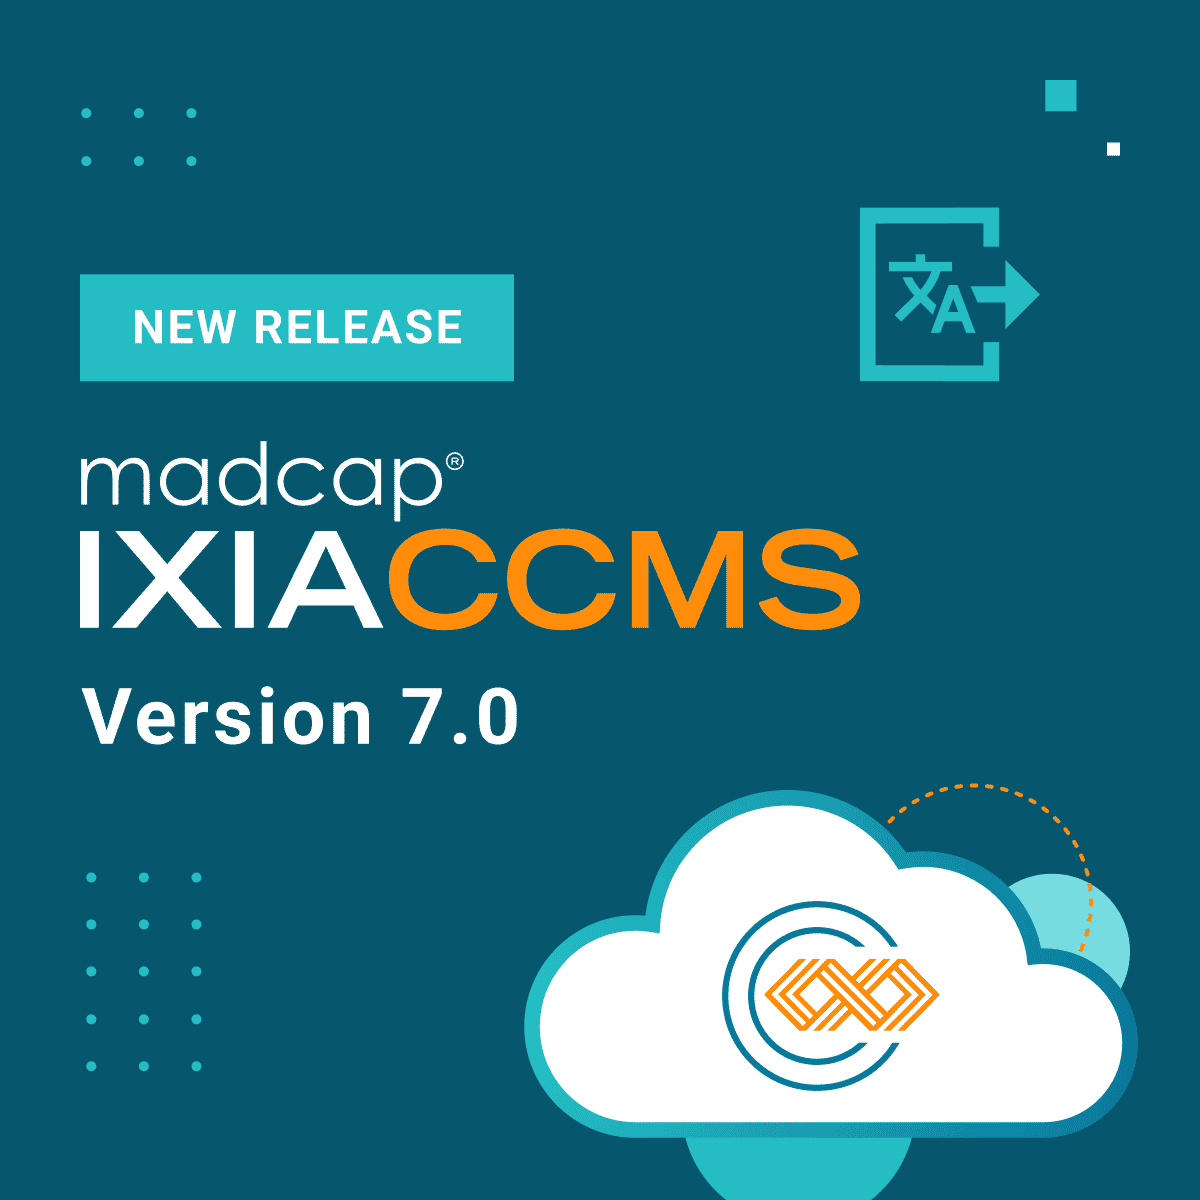
MadCap IXIA CCMS 7.0: Revolutionizing Localization Workflows
Posted by Dipo Ajose-Coker
February 1, 2024

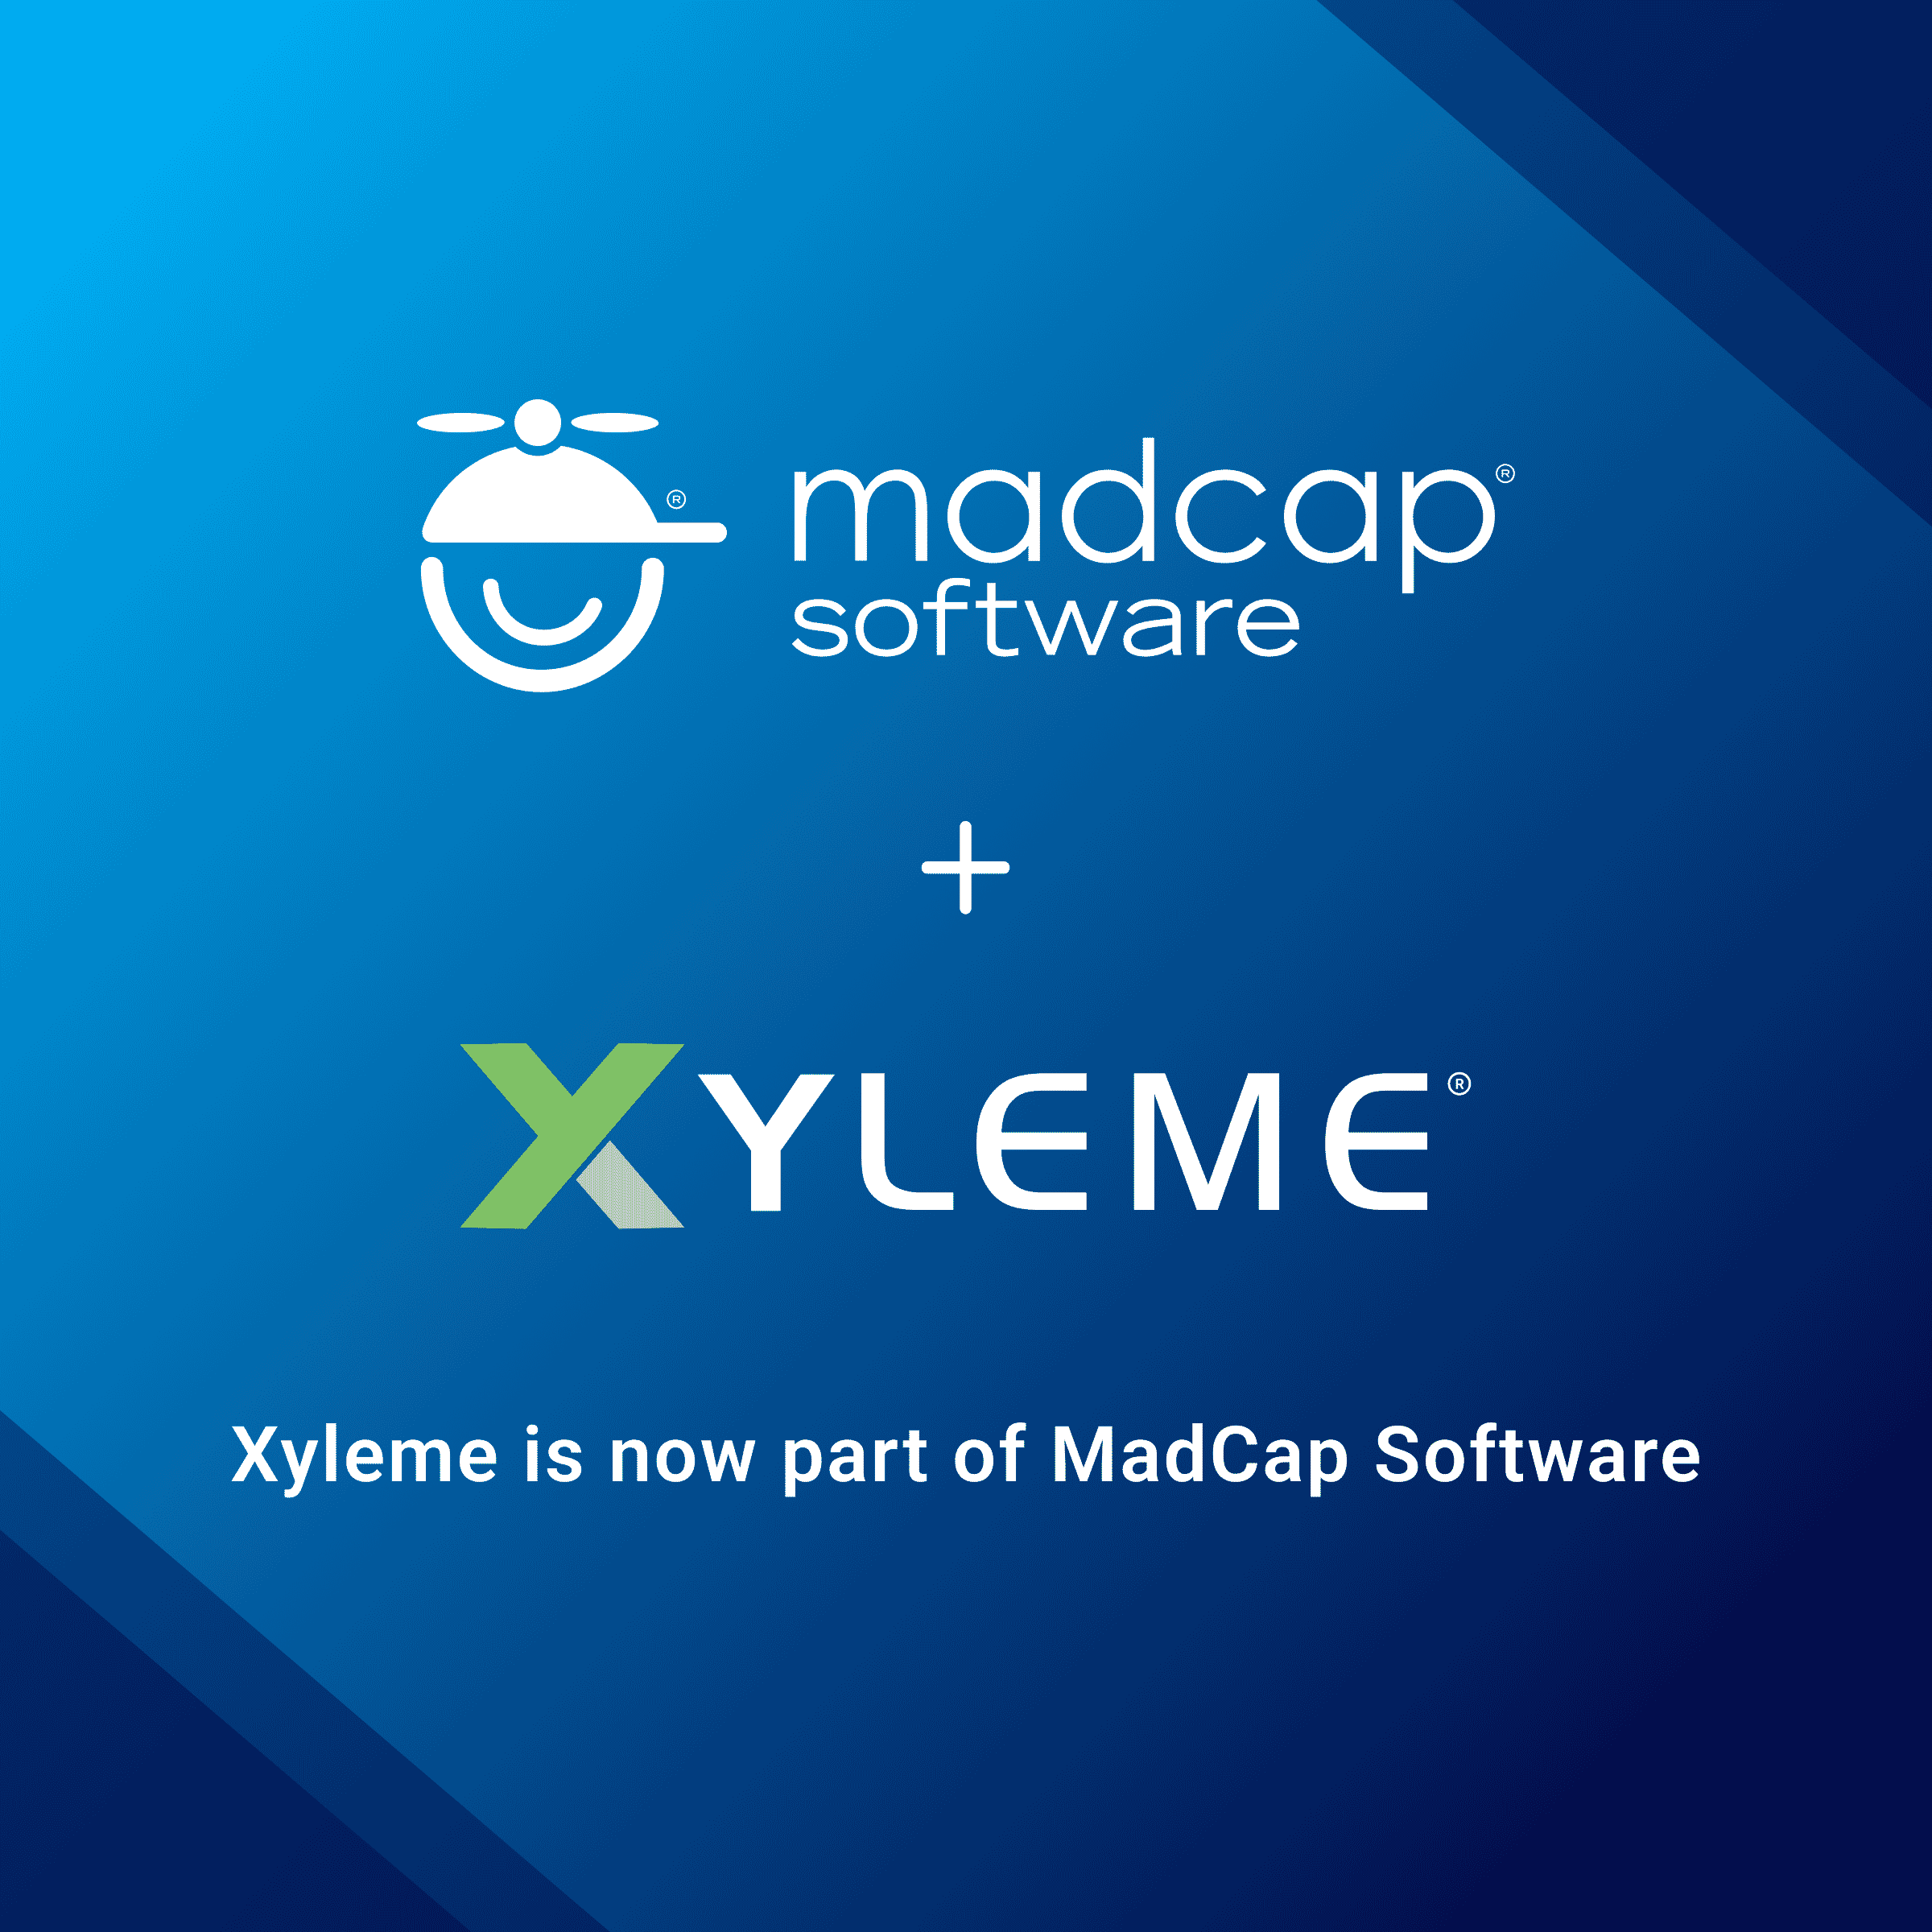
Breaking Boundaries: Unlocking Seamless Content Solutions with Xyleme Acquisition
Posted by Danielle Simmons
January 11, 2024
.png)
The Year in Review: Exploring the New Features of MadCap Flare
Posted by Jennifer Morse
December 27, 2023

Beyond the White Void: How AI Can Become the Ultimate Sidekick for L&D
Posted by Andrea Maliska
December 20, 2023
Have a suggestion for a blog article? Submit it here