
Want to create a professional-looking, polished brochure or print foldout as a part of your documentation set? In my previous post, I set the stage on getting started in MadCap Flare, with the essential questions to ask before getting started on the project. With that out of the way, here's an in-depth tutorial on how to create a brochure in Flare:
Create the Topics
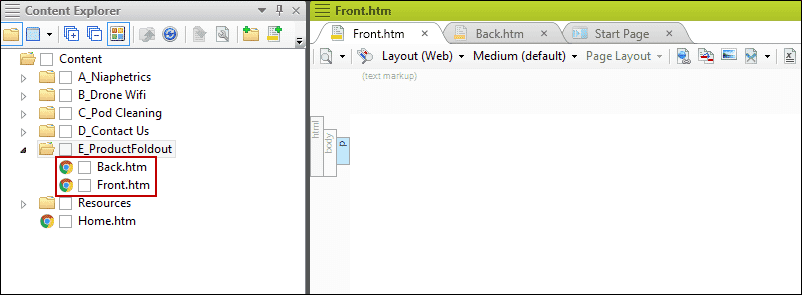
With my plan in hand, the first thing I did in the Flare project was to create two topics. I named one “Front” and the other one “Back” (obviously, in reference to the front and back sides of the foldout). Also, I deleted all of the default text in my new topics.
Create the Front Page Layout
I knew that the sizes of my page layouts would be much different from any of the page layout templates available in Flare. So I decided to create my Front page layout first and then make a copy of it later to create the second one. It just saves time and effort that way.
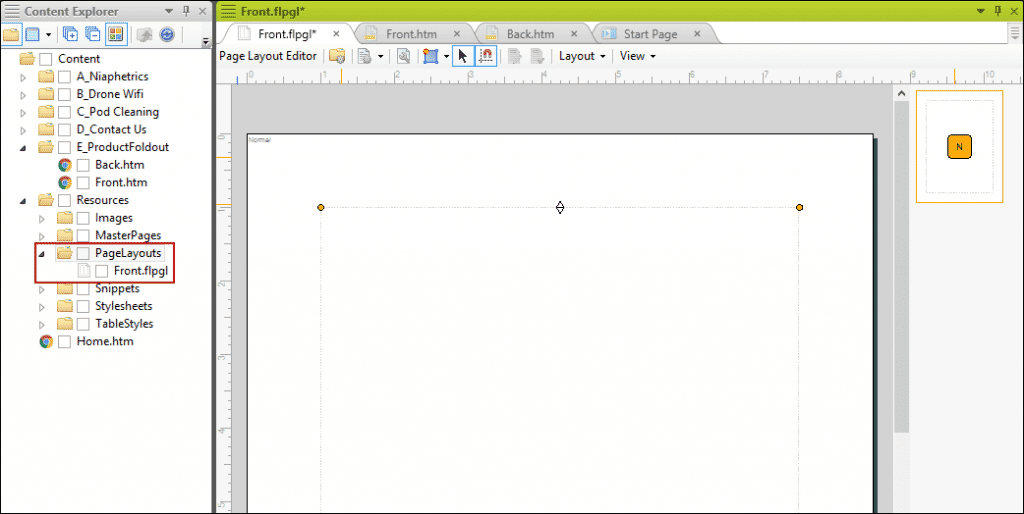
I used the Default page layout when adding the new Front page layout. Immediately I deleted the header and footer frames that were at the top and bottom of the page layout. This left the large body frame.
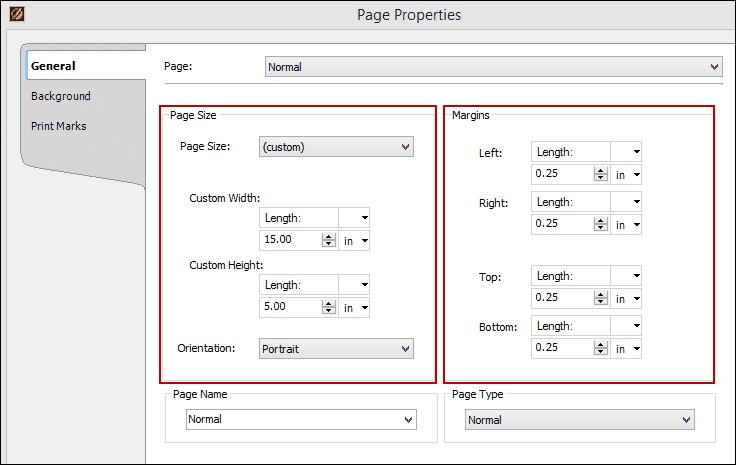
I then opened the Properties dialog and changed the size of the page layout to 15 inches wide by 5 inches high. I also set the margins to 0.25 inch.
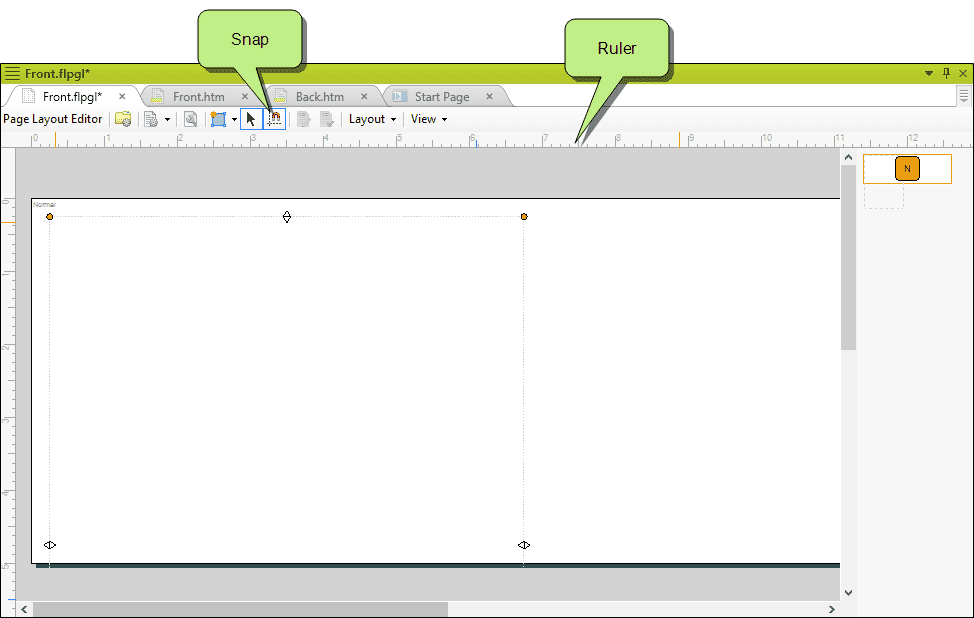
To help me see what’s going on, I turned my rulers on in the Page Layout Editor, setting the unit of measurement to inches. I also turned on the “Snap” feature, which would help me position all of my frames to the edge, adhering to my ¼-inch margin.
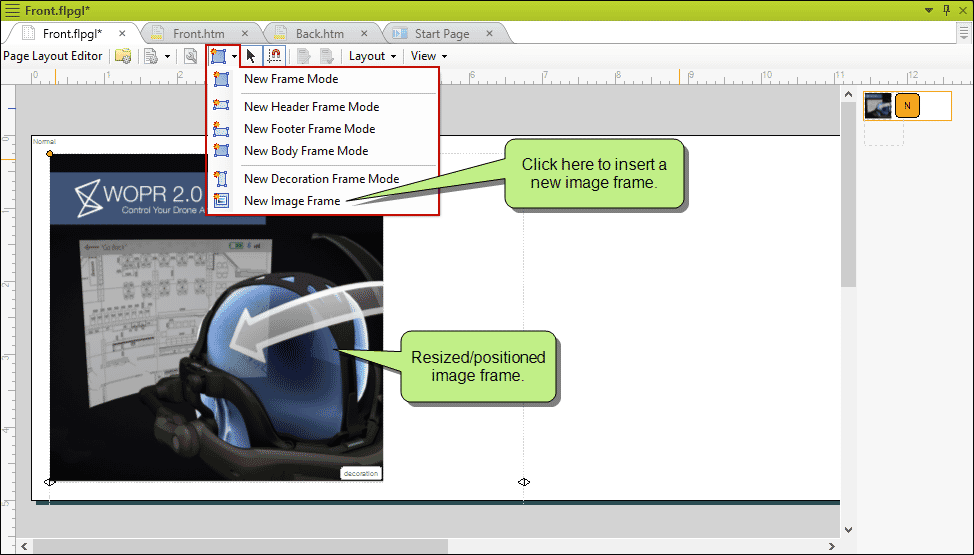
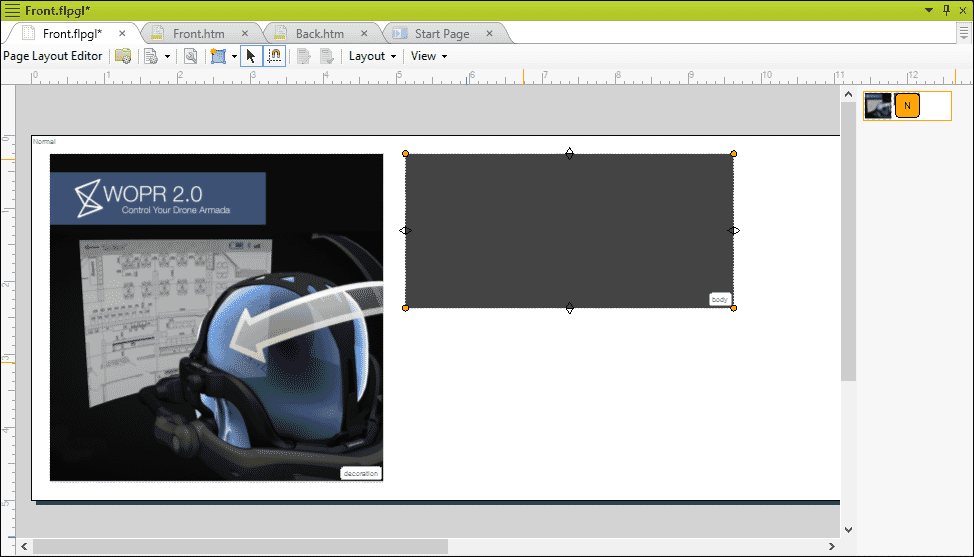
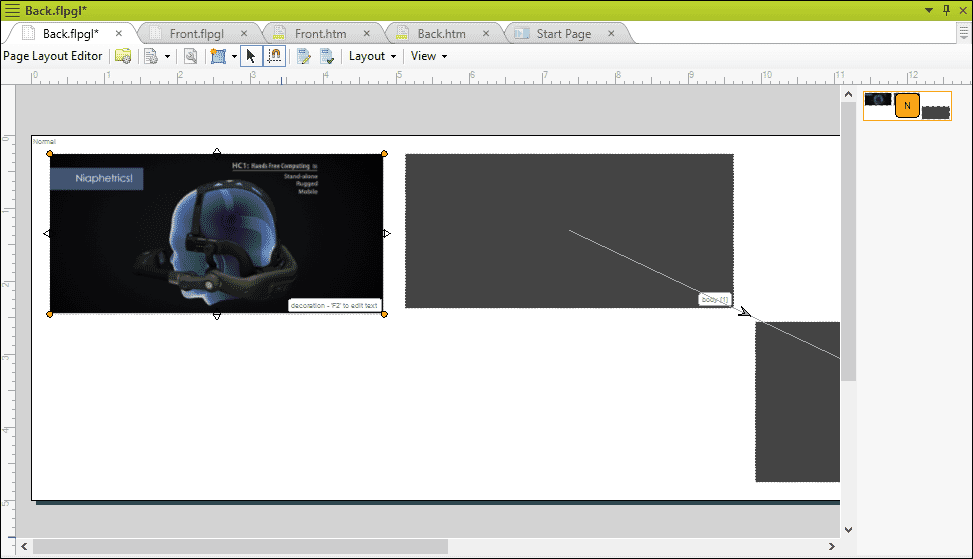
Before doing anything with the body frame, I first inserted an image frame and dragged it to the upper-left, resizing and positioning it like this:
Some images work better than others when resizing the image frame. Reducing the size of a populated image frame is often okay to do. However, you typically don’t want to enlarge image frames, as doing so will result in fuzzy pictures. That’s why it’s important to make sure that your images are large enough for what you need before you begin.
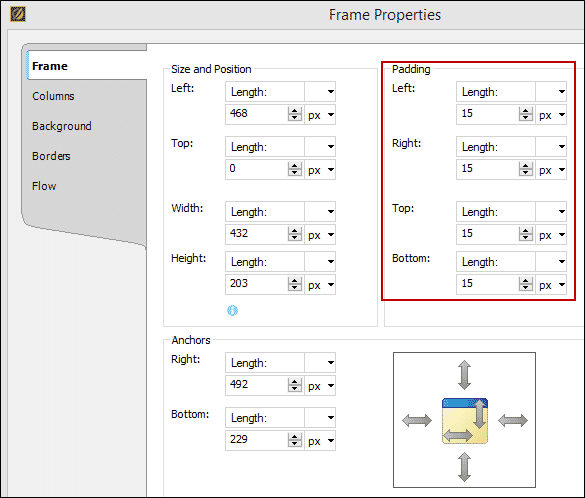
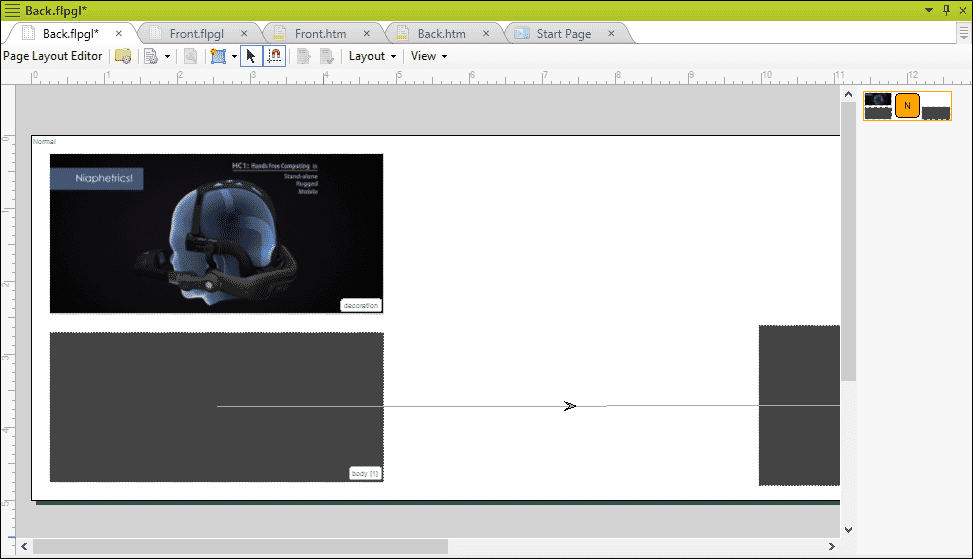
Next, I resized and repositioned the body frame sticking out from behind the image frame. I dragged it to the top-middle of the page layout, snapping it to the top margin (when you have the snap feature enabled, you’ll see a blue line when the edge meets the margin). I also opened the properties to set the padding to 15px.
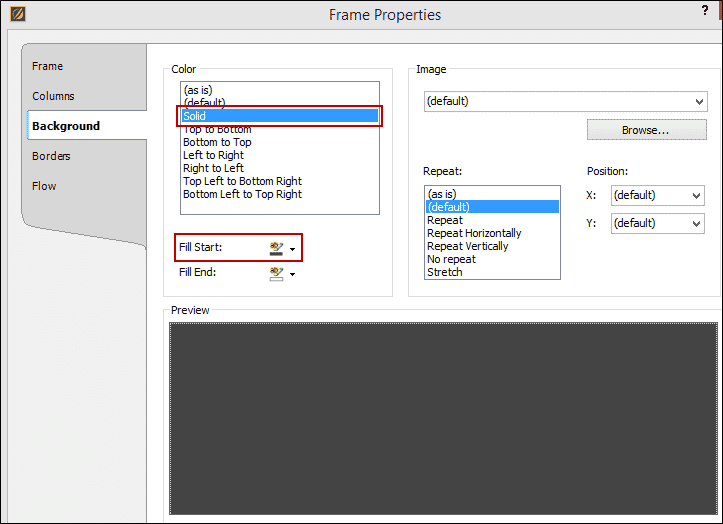
I also set the background color to a dark gray.
In the page layout it looked like this:
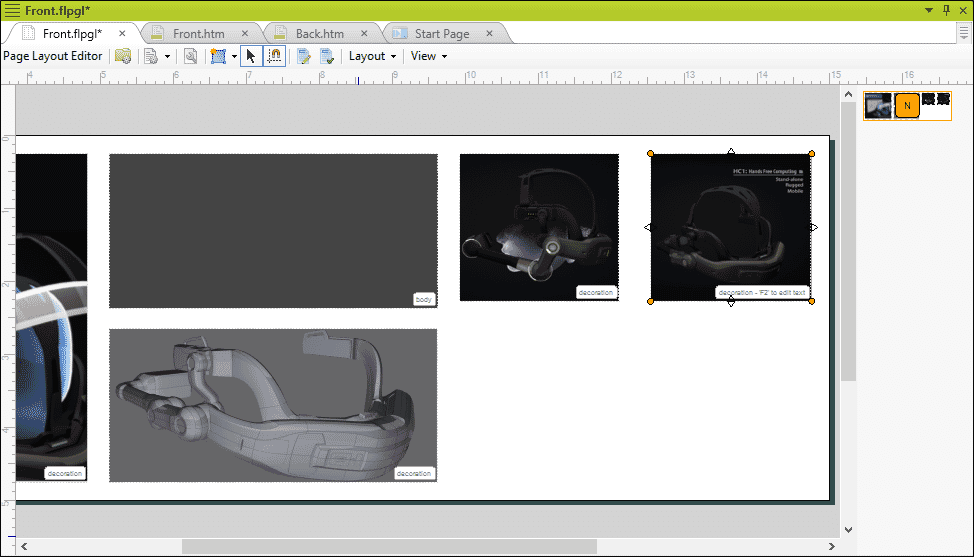
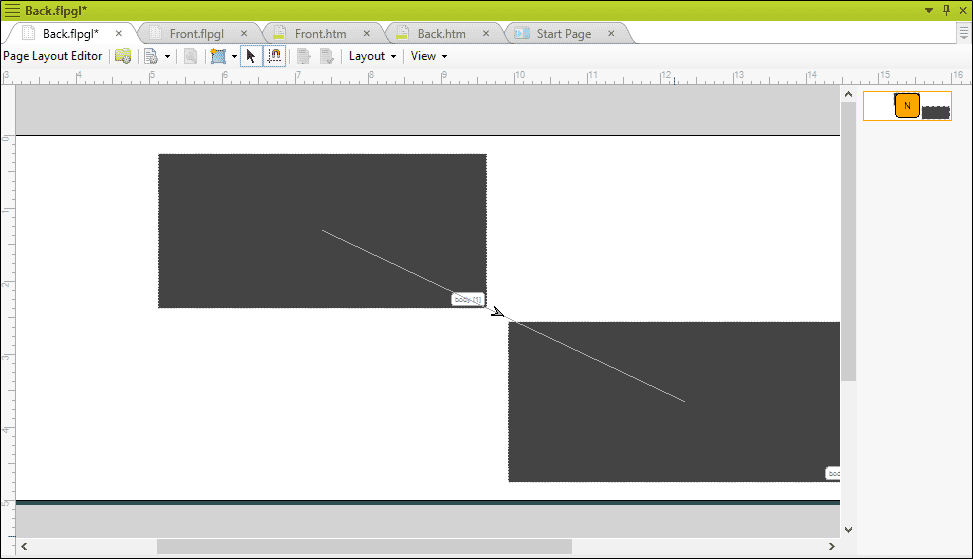
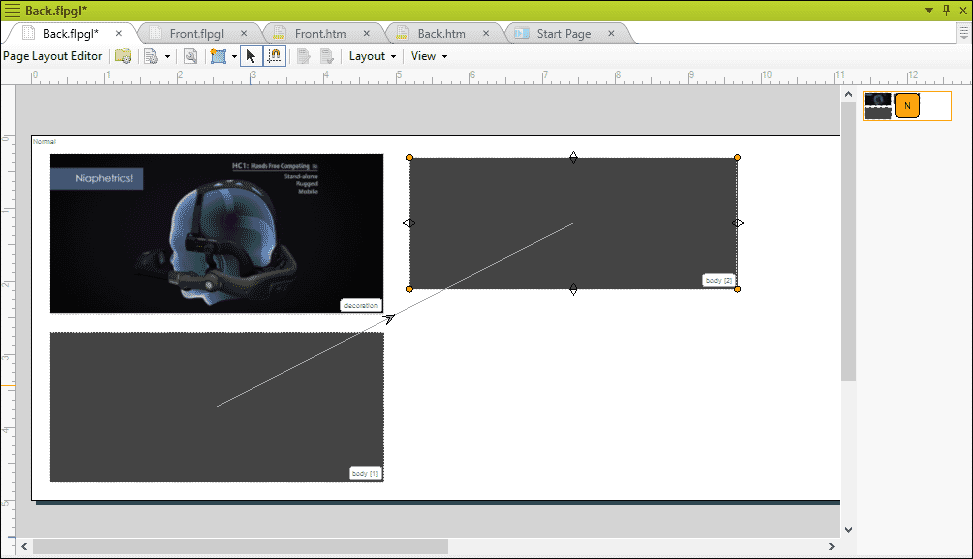
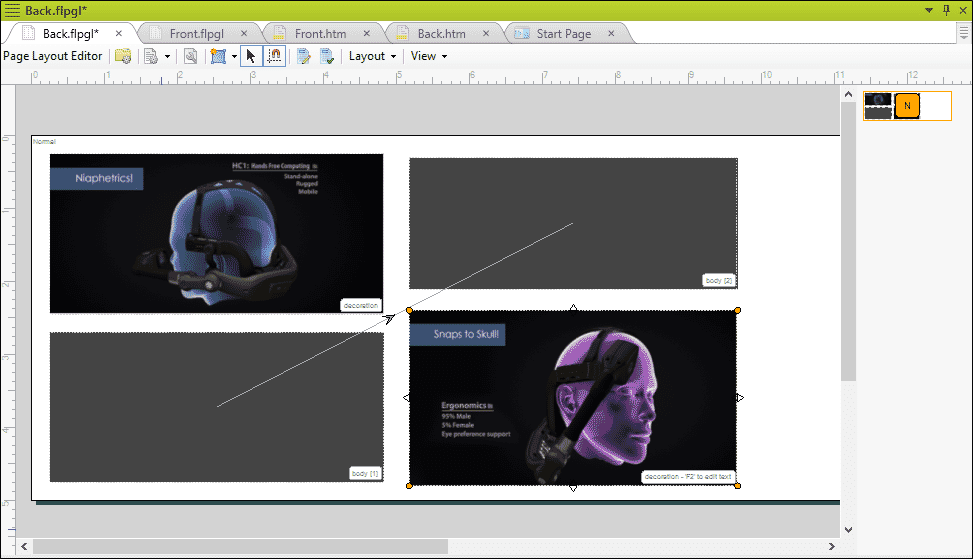
Next, I inserted three more image frames, positioning them like this:
Finally, I made a copy of the first body frame, and positioned it in the lower-right of the page layout like this:
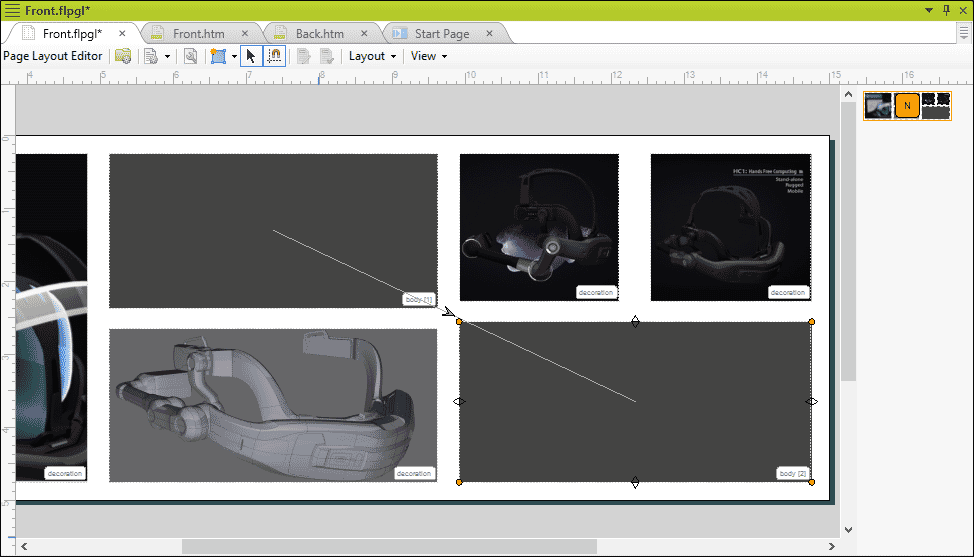
Notice that an arrow points from the first body frame to the second one, showing the flow of content.
Create the Back Page Layout
After saving my changes, I made a copy of the Front page layout and renamed it “Back.”
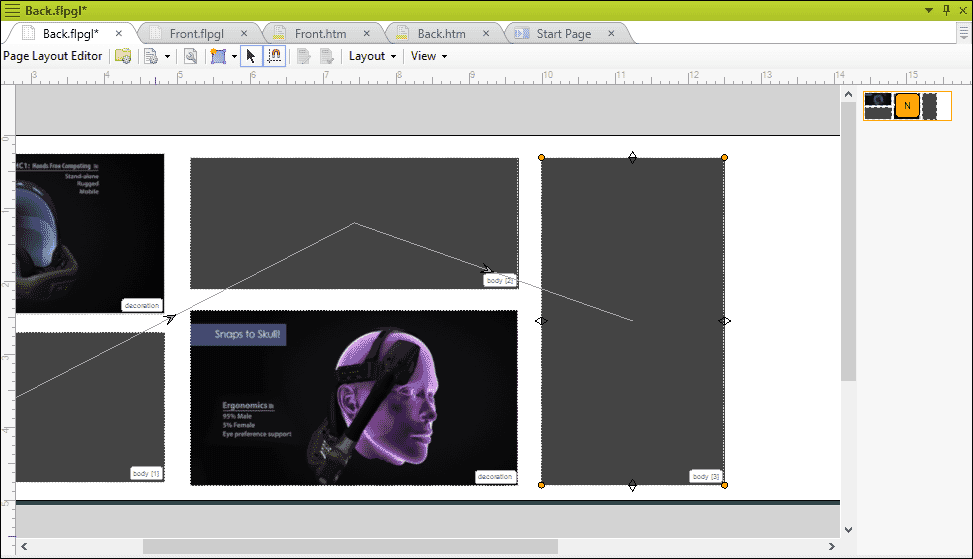
In this page layout, I deleted the four image frames, leaving only the two body frames:
I inserted a new image frame and positioned it in the upper-left:
I dragged the first body frame to the lower-left and resized/positioned it like this:
I dragged the second body frame to the top-middle and resized/positioned it like this:
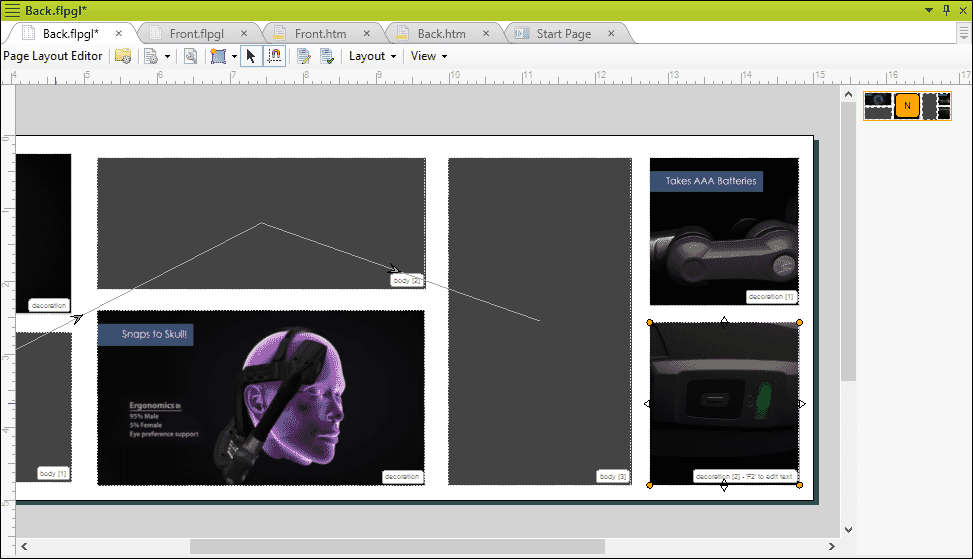
I inserted a new image frame and positioned it in the lower-middle:
I made a copy of the second body frame, then resized/positioned it like this:
I added the final two image frames and resized/positioned them on the right.
Create a TOC
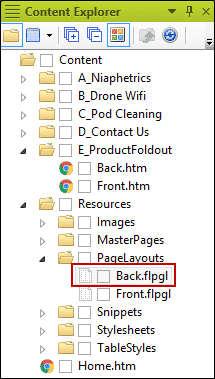
I needed a new TOC file (which serves as an outline in print-based output) for my two topics. So I added a new TOC file to my project, naming it “Foldout.” I dragged my Front and Back topics to this TOC.

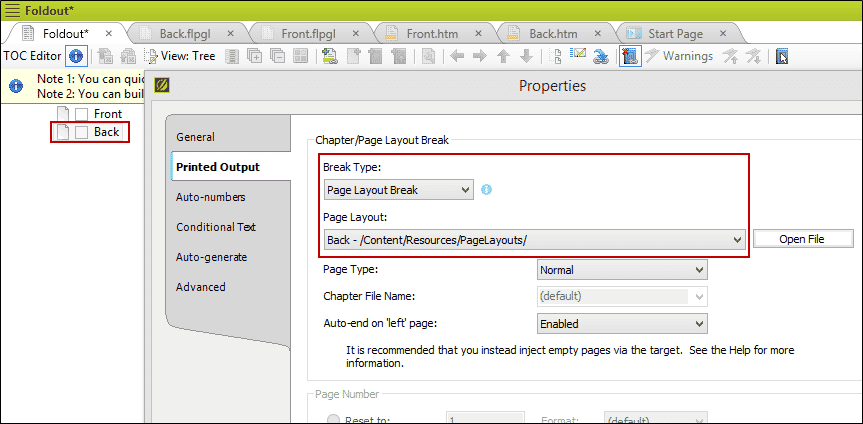
I opened the properties for the Front TOC node and I associated it with the Front page layout.
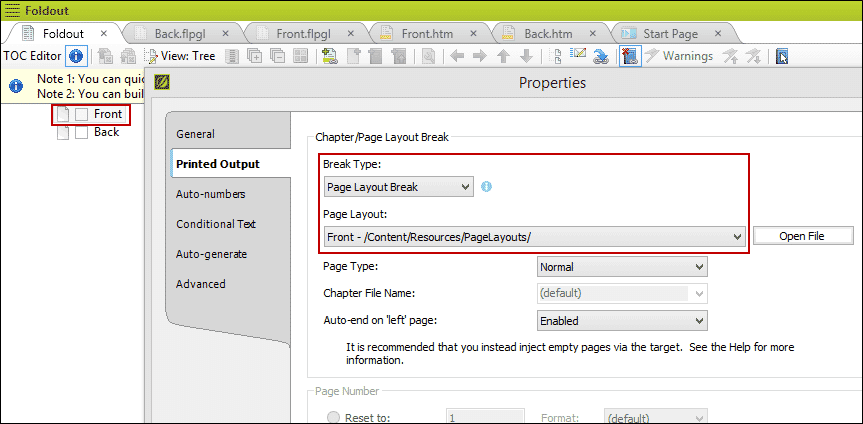
Then I opened the properties for the Back TOC node and I associated it with the Back page layout.
Create a PDF Target
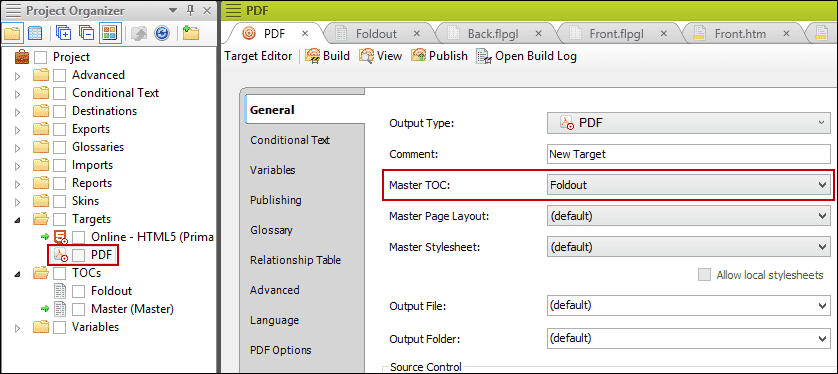
I added a new PDF target file to my project. Within this target I chose the TOC that I just created.
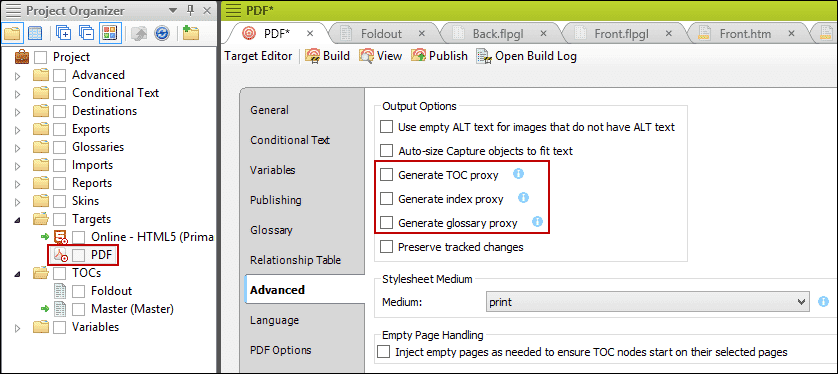
Then on the Advanced tab, I made sure the Generate Proxy options were deselected so that no undesired generated content would end up in the output. Because that would look weird and mess everything up.
Edit the Front Topic
Most of the pieces were in place at this point, but I still needed to add the rest of the content to my topics.
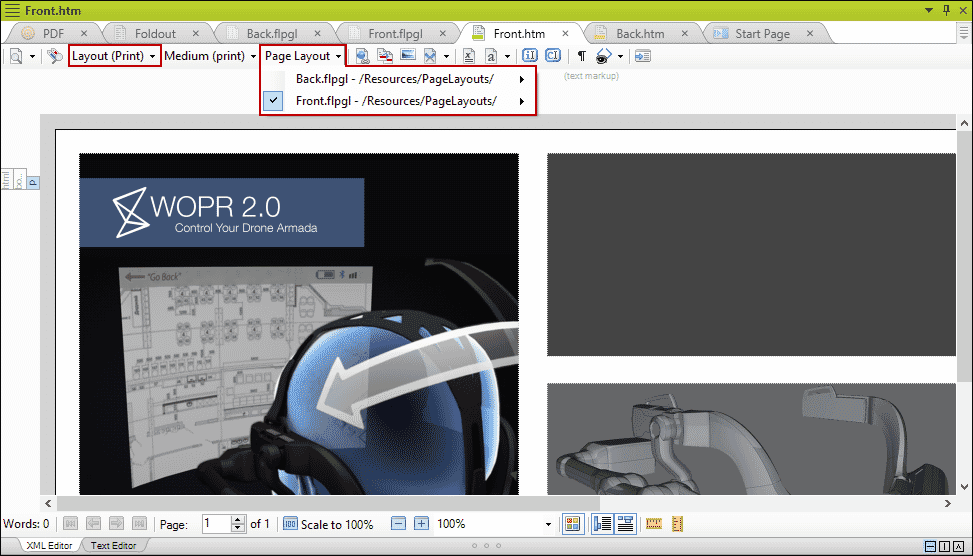
So first I opened the Front topic. I switched from Web Layout mode to Print Layout mode, and I chose the Front page layout as well. This ensured that I was looking at what I expected to see in the output.
In the first body frame (the empty gray rectangle), I typed some heading text and applied my h1 style to it. Then I inserted a couple of snippets I had created ahead of time.
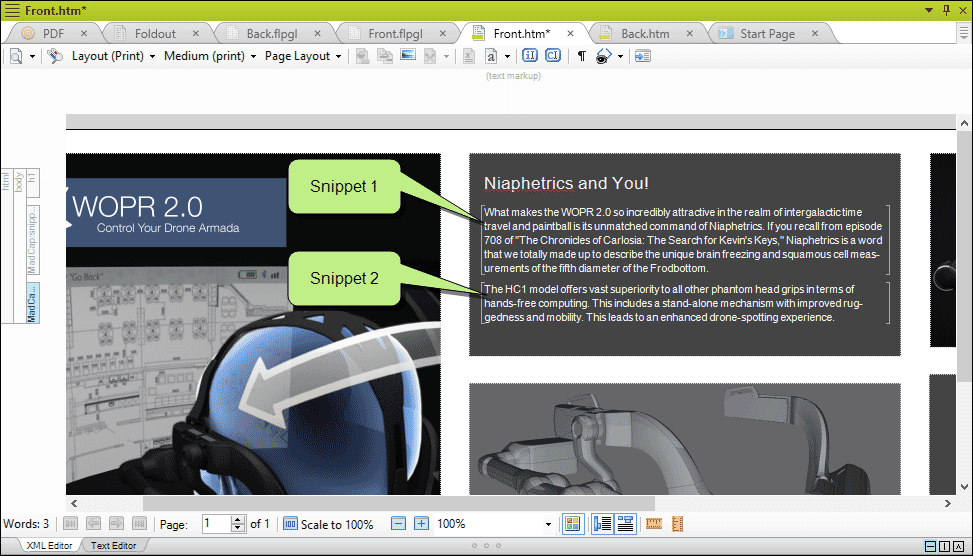
If you have multiple body frames like I do in my example, you’ll notice that the text and other content in one body frame continues to the next body frame automatically as you run out of room. So if you’re not sure where the cursor is, look in the next body frame. Also, if you’re adding lots of block content—such as snippets and images—into a body frame, you might consider always leaving at least one empty paragraph at the bottom as you work. This can make it easier to add more content as you go.
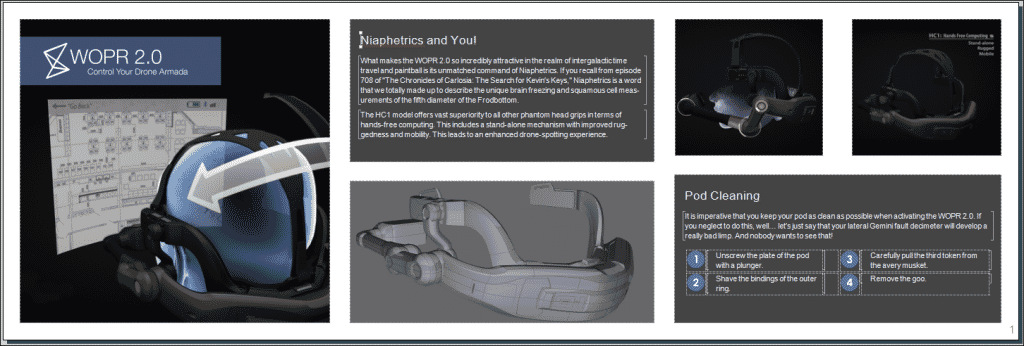
When I was finished adding content to the second body frame, my topic looked like this:
Edit the Back Topic
Next, I opened the Back topic. Again, I made sure I was in Print Layout mode, but this time I associated the topic with the Back page layout.
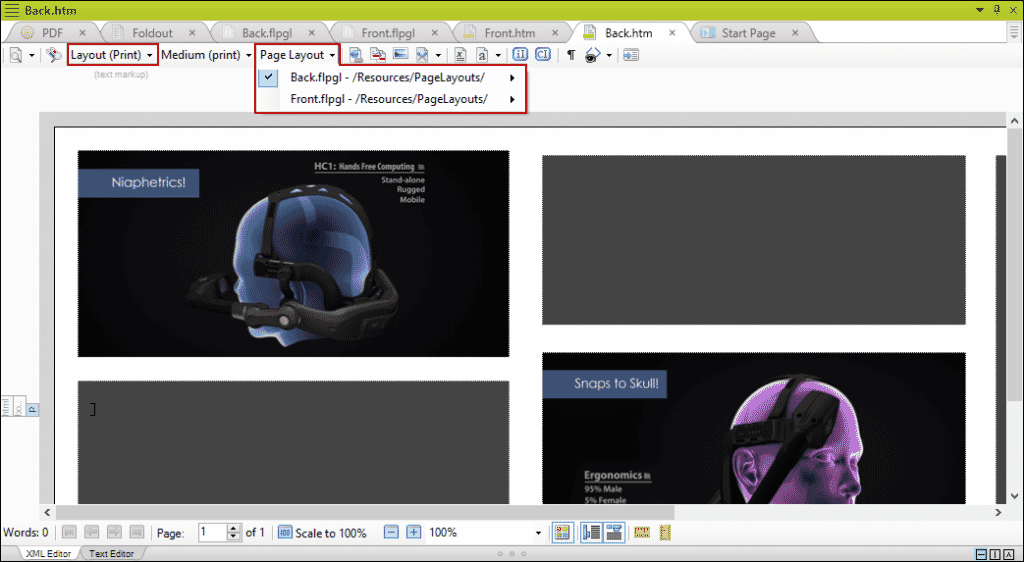
I added content into the three body frames, just as I did in the Front topic. My finished Back topic looked like this:
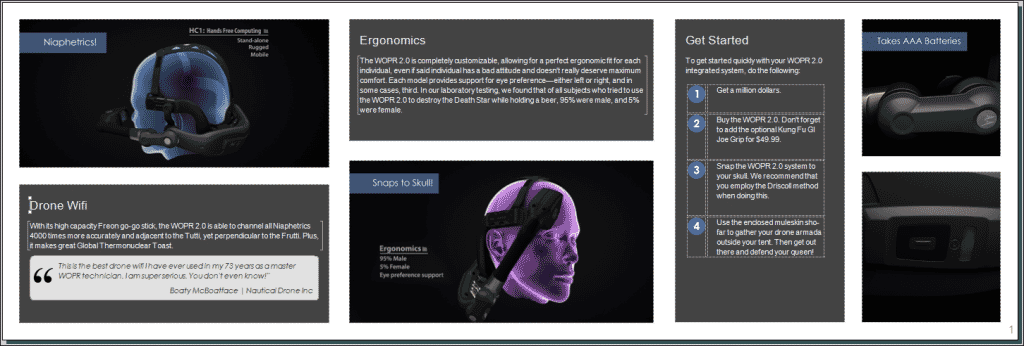
And that’s pretty much it. When I generated my PDF, my foldout looked like my graphic designer’s mockup. And I could still build my online output with a different format, but using some of the same content.
Product Foldout Tutorial
For another look at creating a product foldout tutorial, check out our Product Foldout Tutorial. This tutorial is somewhat similar to what you’ve read here, but there are also some differences in the approach. Plus, there are additional details. Here’s the tutorial:
https://help.madcapsoftware.com/products/flare/Content/Tutorials/Flare/ProductFoldout3Fold/ProductFoldout3Fold.htm